For years I wanted to make something physical out of my photos, and a zine always seemed like a perfect first step. I’d have an idea and gather images, but something always stopped me from progressing beyond that point. The thing that stopped me is that I’m no designer, and the thought of trying to present something I cared about (my images) utilizing skills I don’t have (design) bred uncertainty which in turn bred hesitation.
I grew old.
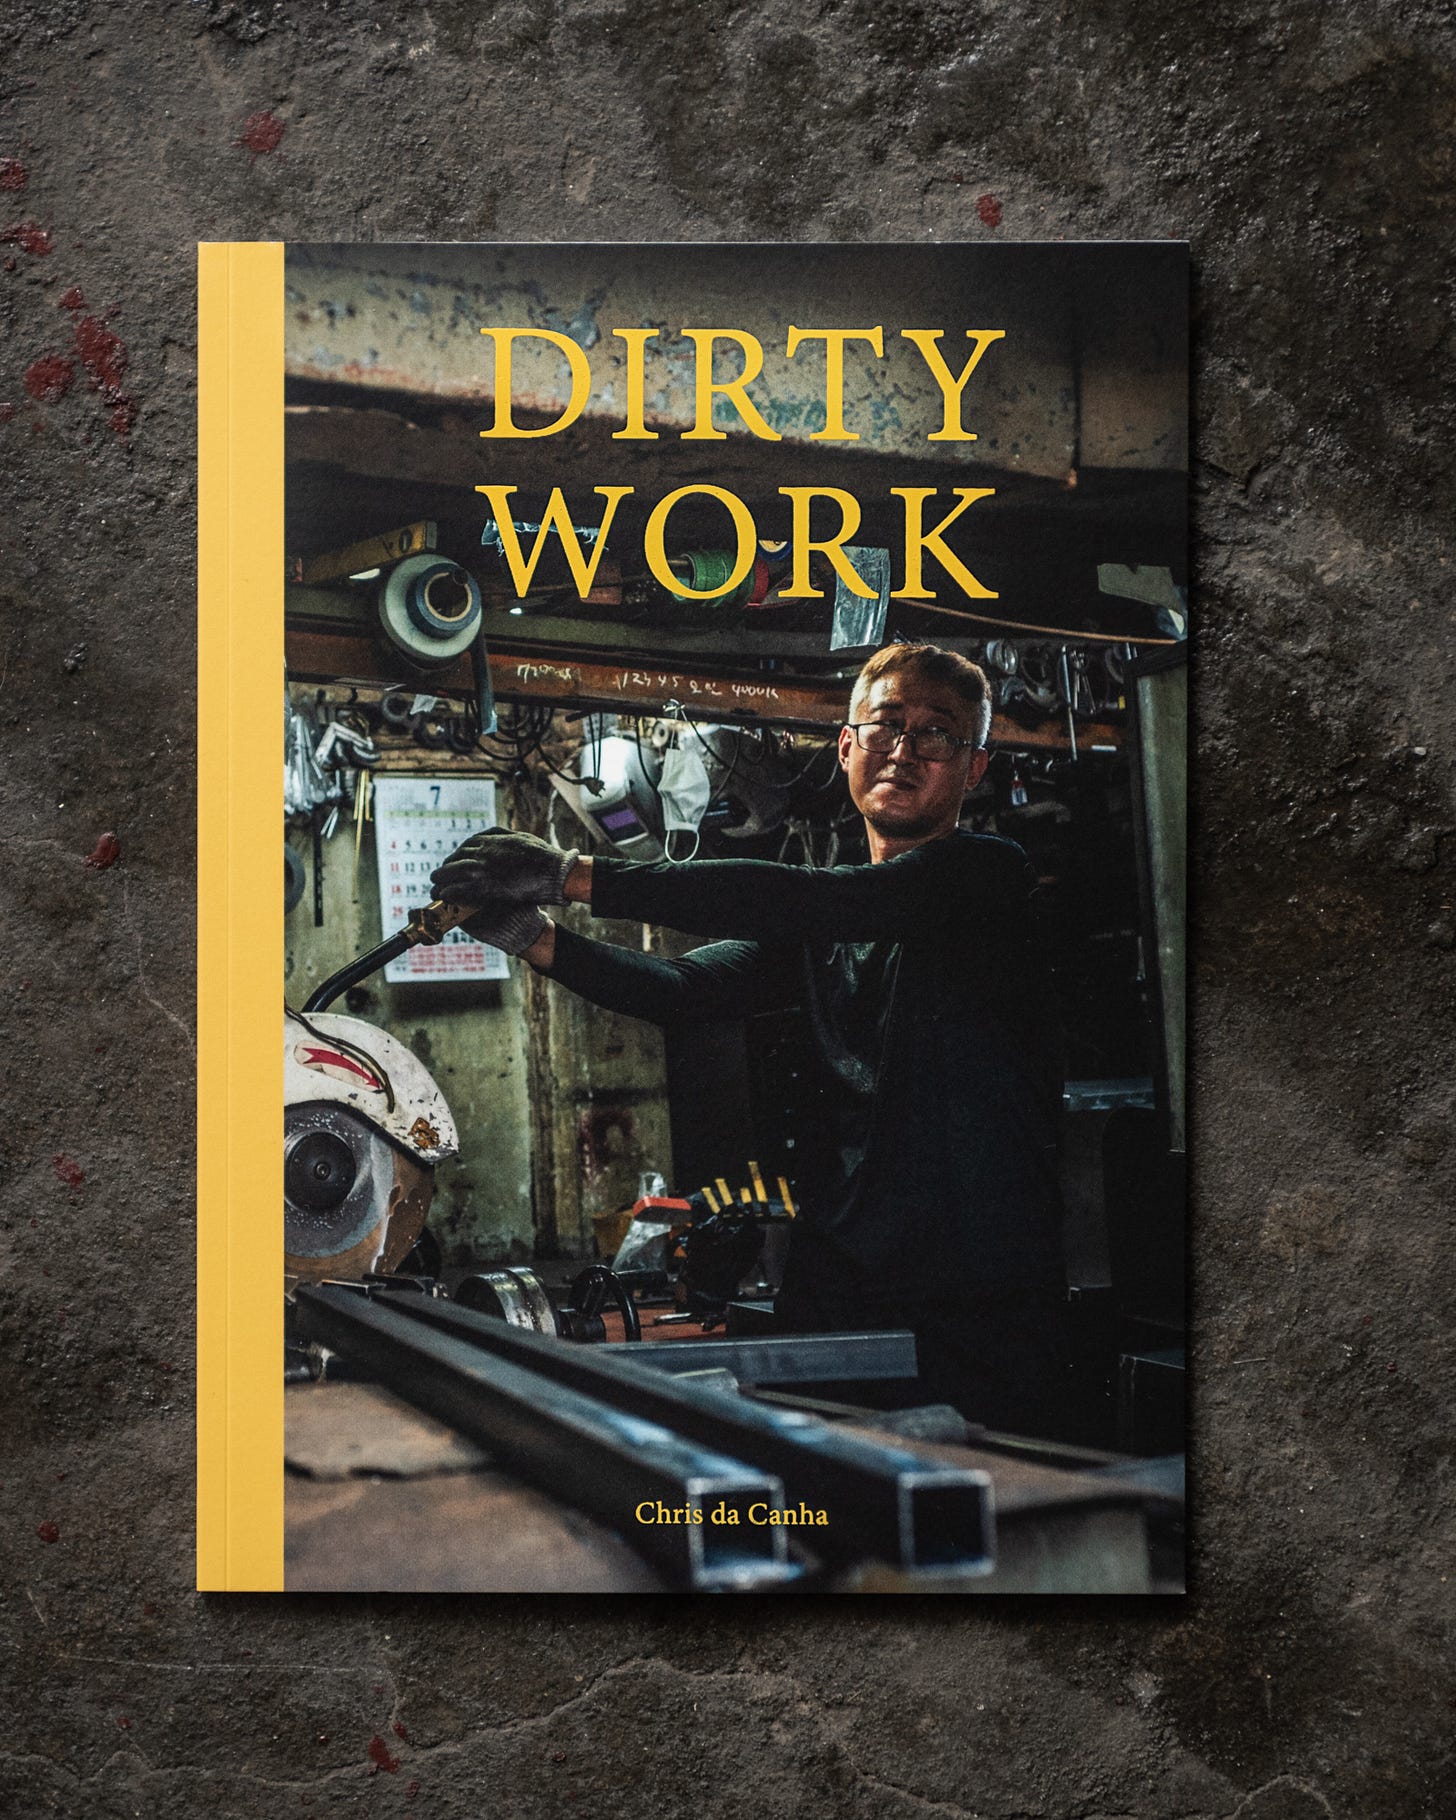
But I also grew tough and embracing the challenge, I finally made my first DIY zine. It’s called Dirty Work and it looks like this:
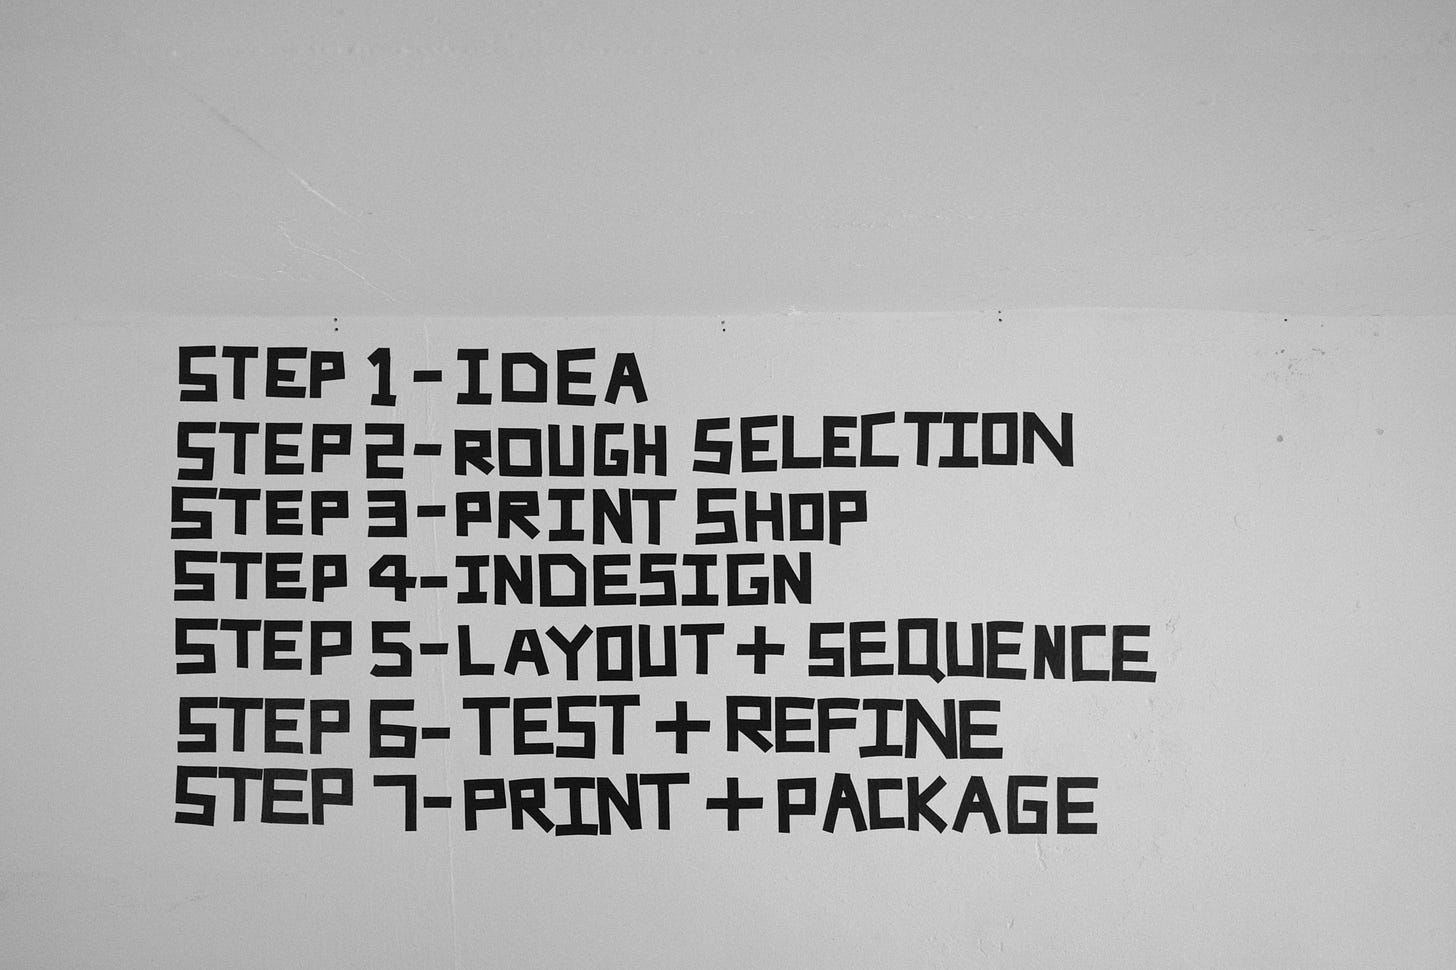
In this newsletter, and the next few that follow, I’m going to explain how I made Dirty Work, step by step. There are 7 steps in total.
I want this to be as helpful as possible, so at any point please feel free to ask questions in the comments or share your own zine-making story. We can all learn together:-)
The last bit before I jump in: This guide is also a YouTube video. Or it will be when I upload it in a few days time. Please think about subbing and staying tuned for that, I worked hard to make it helpful too.
Step 1 - Idea
The way I see it, there are two ways to start your zine:
Have an idea, then make the images
Have images, then gather them under an idea
Each has its merits.
Have an Idea
Starting with your idea first is great for a few reasons.
You know what to shoot - It’s easier to know what kind of images will best suit your zine because you have your idea to guide you.
You know what not to shoot - This makes you less likely to sink time into work that won’t make it into the zine.
This encourages precision and clarity - for both you (who has to set about making the images) and your reader (who has to set about understanding them).
This is great for a specific, focused project - Having your idea to guide you from the start can really focus your efforts from shooting to selection to designing to printing and packaging.
The main downside to this approach that I can see is that starting right from the beginning with the image-making part of the process, getting to the part where you actually make the physical zine can seem a long time away. Timespans like this can be daunting, and demotivating, too. I want you to have the best shot at holding your freshly printed zine in your hands, so if you want to speed things up, option 2 is for you.
Have Images
If you’re like me, you’re out there shooting whether you have a clear idea or not, which is great because:
You have an archive - chances are there are a number of subjects and themes you know about in your archive, or are waiting to be discovered, that’ll be perfect for a zine.
No more stalling - You can get right into selecting the images and designing the zine, bypassing all or most of the typically slower image-making process.
A little less precision and clarity - Maybe. Looking at your archive you might identify a theme for your zine, but the images may not have been made with this theme in mind. That can make the relationship between the images and the theme a little less precise.
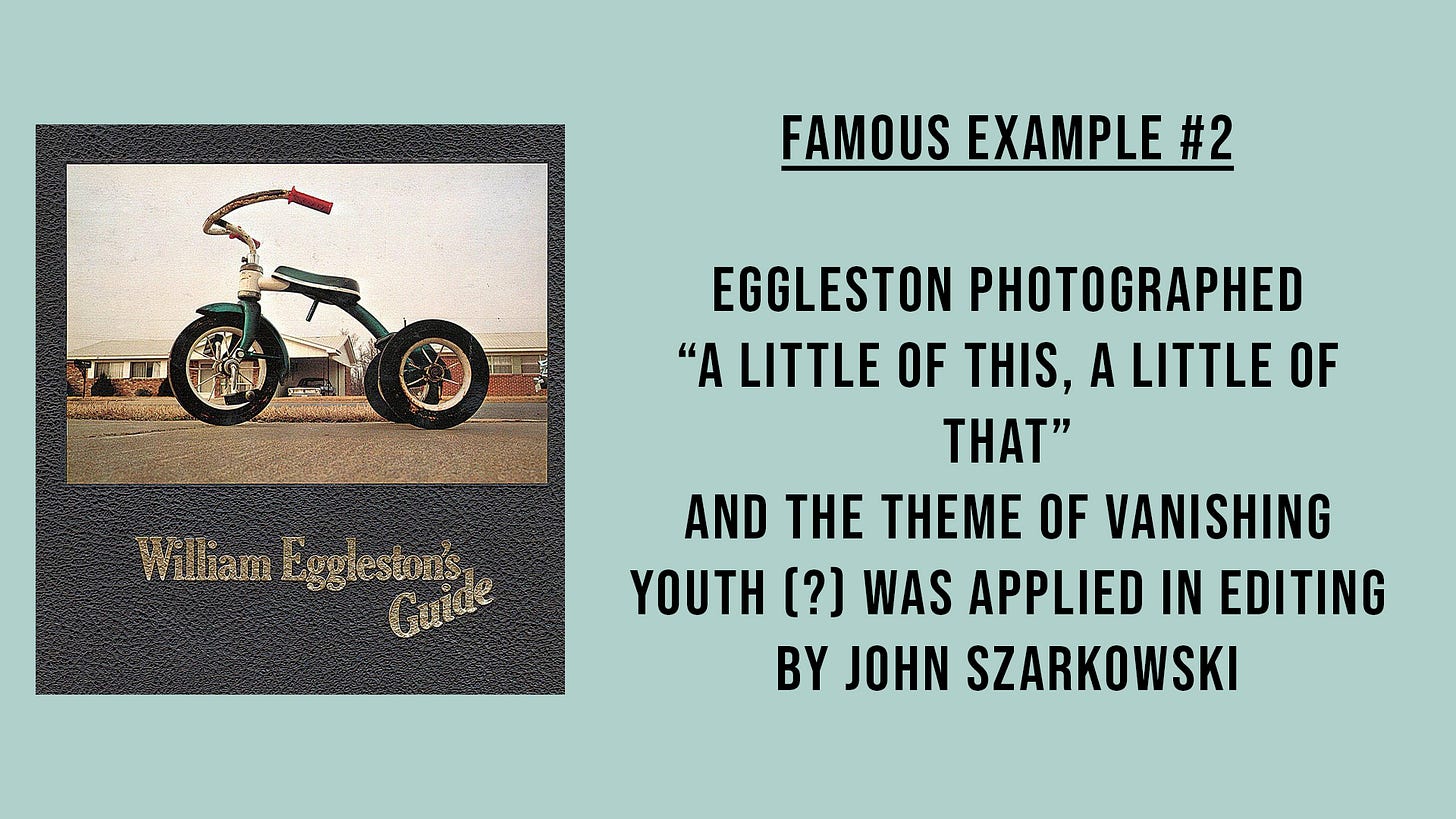
But isn’t this a bad thing? - Not necessarily. Too clear a focus on your theme or subject can get a little repetitive or boring. Starting with the images you have and attaching an idea to them can introduce…
Ambiguity - Which can help make a zine that is maybe more interesting, or more unique. I like to think of it as a roughness around the edges that can let in some light.
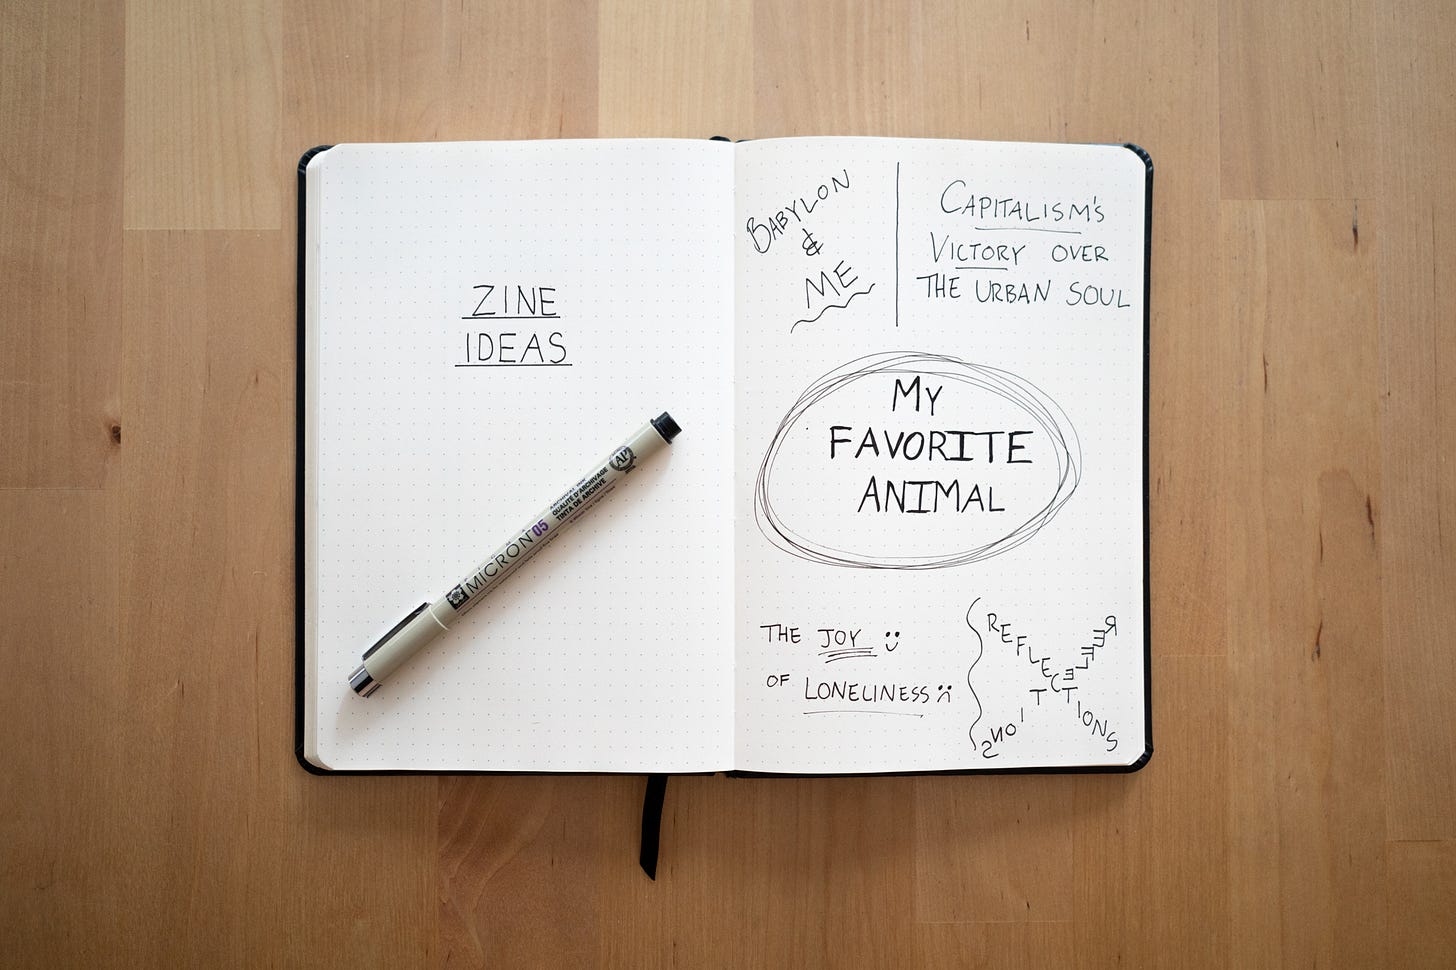
When I made Dirty Work I looked through my archive and I found a few different subjects that I could go with.
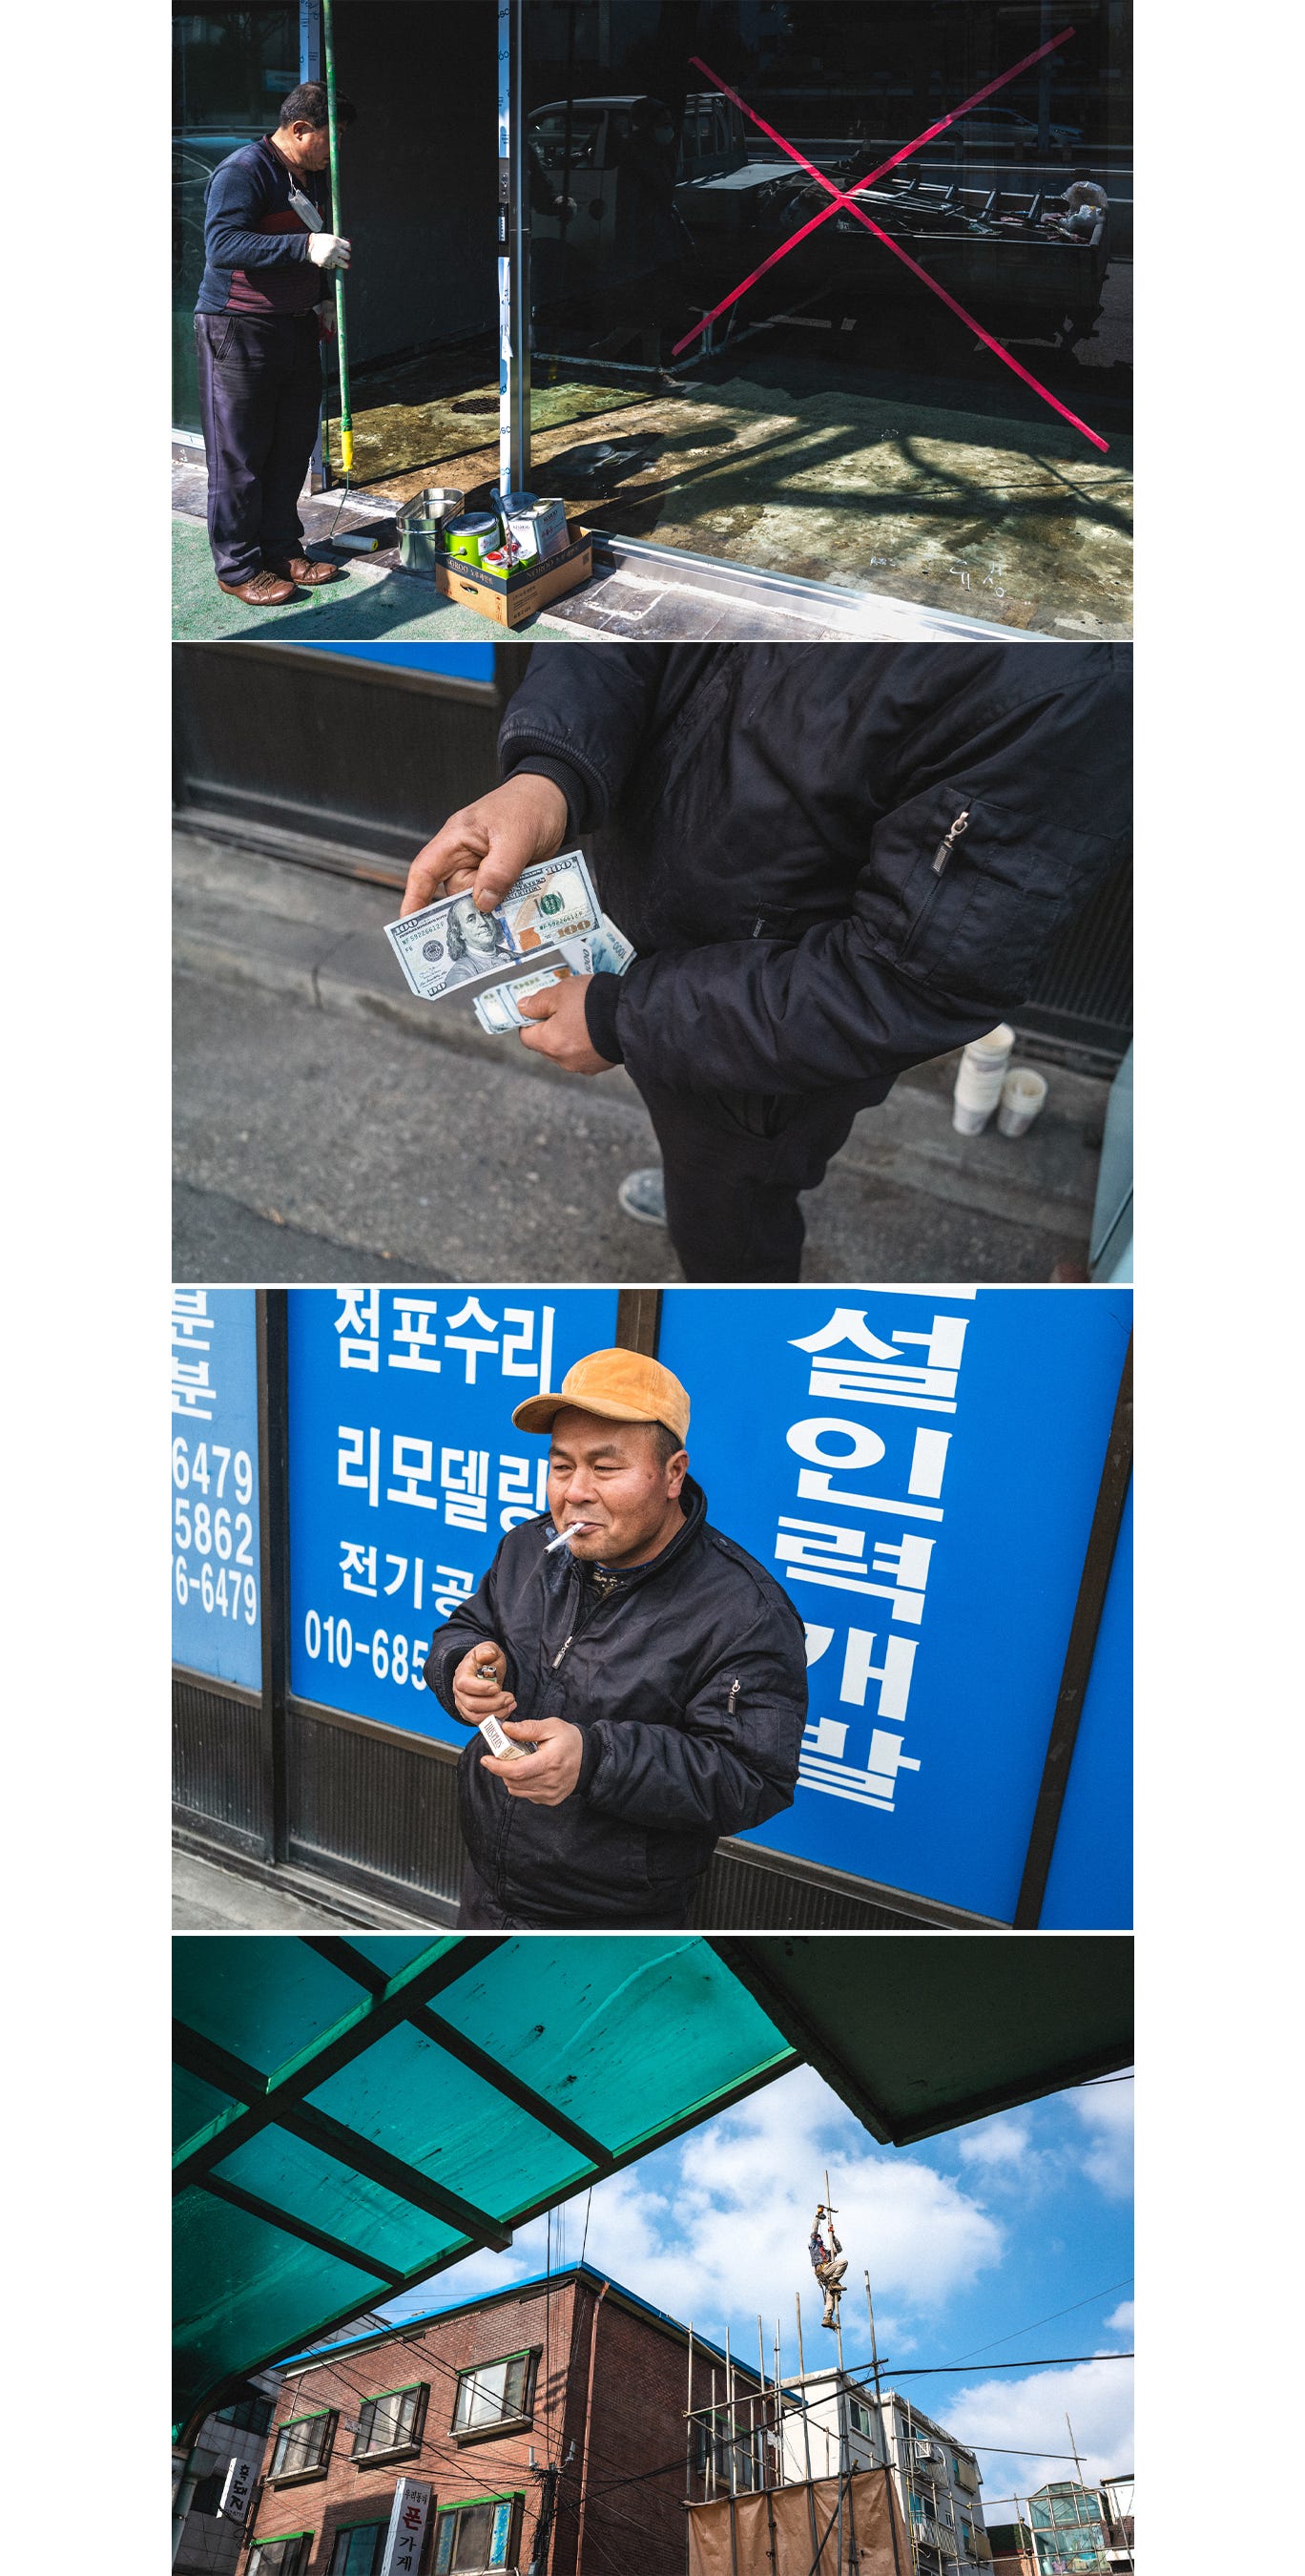
Ultimately I decided on working men.
Step 2 - Rough Selection
Which ever way you decide to start working on your zine, you’ll eventually arrive at the point where you need to make a rough selection of the images that will go into it.
There is no real magic to this process, but I can make some suggestions.
Start with a liberal selection of images.
They don’t all have to perfectly fit your idea, but if you feel some connection between an image and the rest, include it.
That said, watch out for sentimentality. You might want to include an image because of the circumstance in which it was made, which for you makes it special. That alone is probably not a good enough reason to include it in the final selection, so you might as well remove the temptation early.
Sometimes images that are weaker by themselves really soar in a sequence.
Try forming little groups or clusters of your images. This will show which images work well together, which ones don’t, and it could help develop your sequencing logic for later.
At this point you can start removing any of the images that really don’t feel like they fit.

I finalized my selection throughout the sequencing process, which I’ll share in one of the next newsletters.
Next week I’ll share about steps 3 and 4: finding a print shop, and the dread-inducing Indesign. But if you can’t stand the wait, the video will be here by the end of the week. I’d love for you to see it!
*Photography friends on Substack! Before I go this is a quick note for you. If you think this guide could be useful to one of your readers, please think about sharing it. I’m aiming to keep what I write here helpful, so that we can all do more of this, together.
Cheers,
Chris





Looking forward to the next part
Masterclass