Over the course of 2024 I’m putting together 12 photo booklets featuring pairs of images made here in Korea. I’ll release one a month from the start of 2025. This project is called Serial Music.
~~
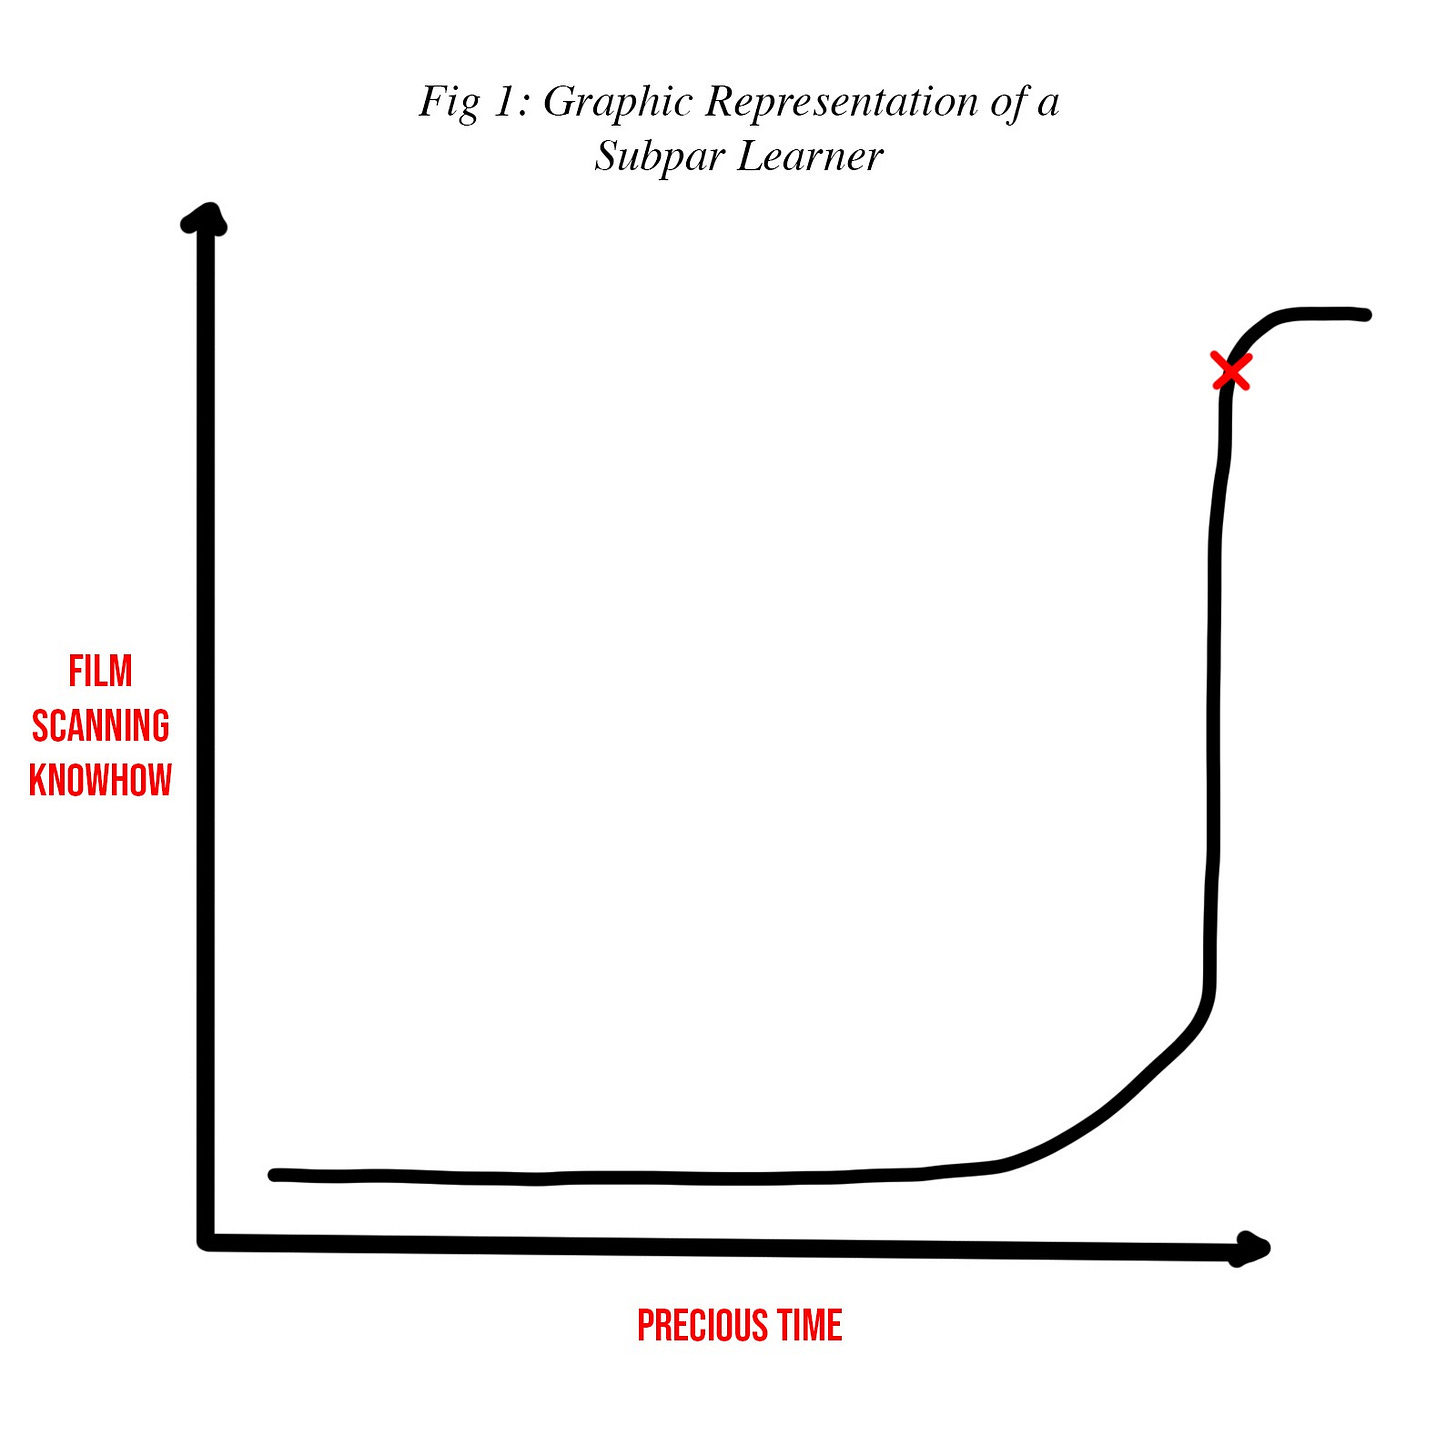
This month I started with the unglamorous, labor-intensive and does-it-even-really-show(?) part of this project: scanning film. Up until this point I’ve been working with scans from the lab, but now that the image selection and pairing is finished, it’s time to make the bigger images that’ll be in the final product. I don’t have much experience scanning film, and I’m using this project as the catalyst for my learning curve.
It’s been steep, but I’m getting the hang of it.
Here’s a speed run of the process:
Find the negative in my folders
First, I flip though hundreds of sleeves of negatives, looking for the little square of 35mm I’ll be scanning. I’ve arranged all my film chronologically, more or less, but it still usually takes a couple of minutes at least to find the image I need.
Scan It
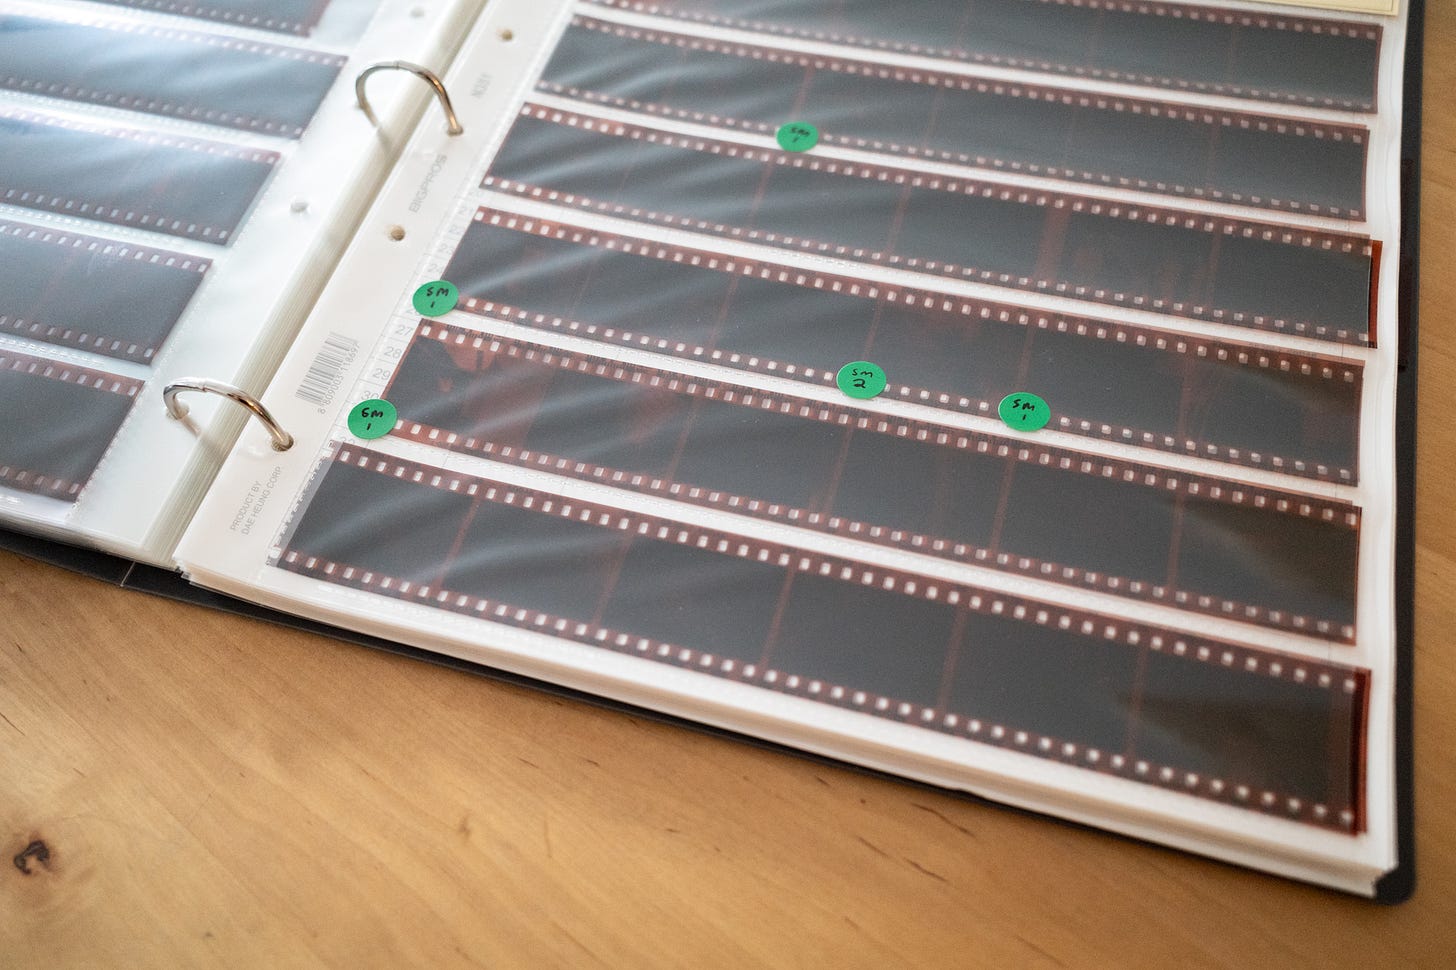
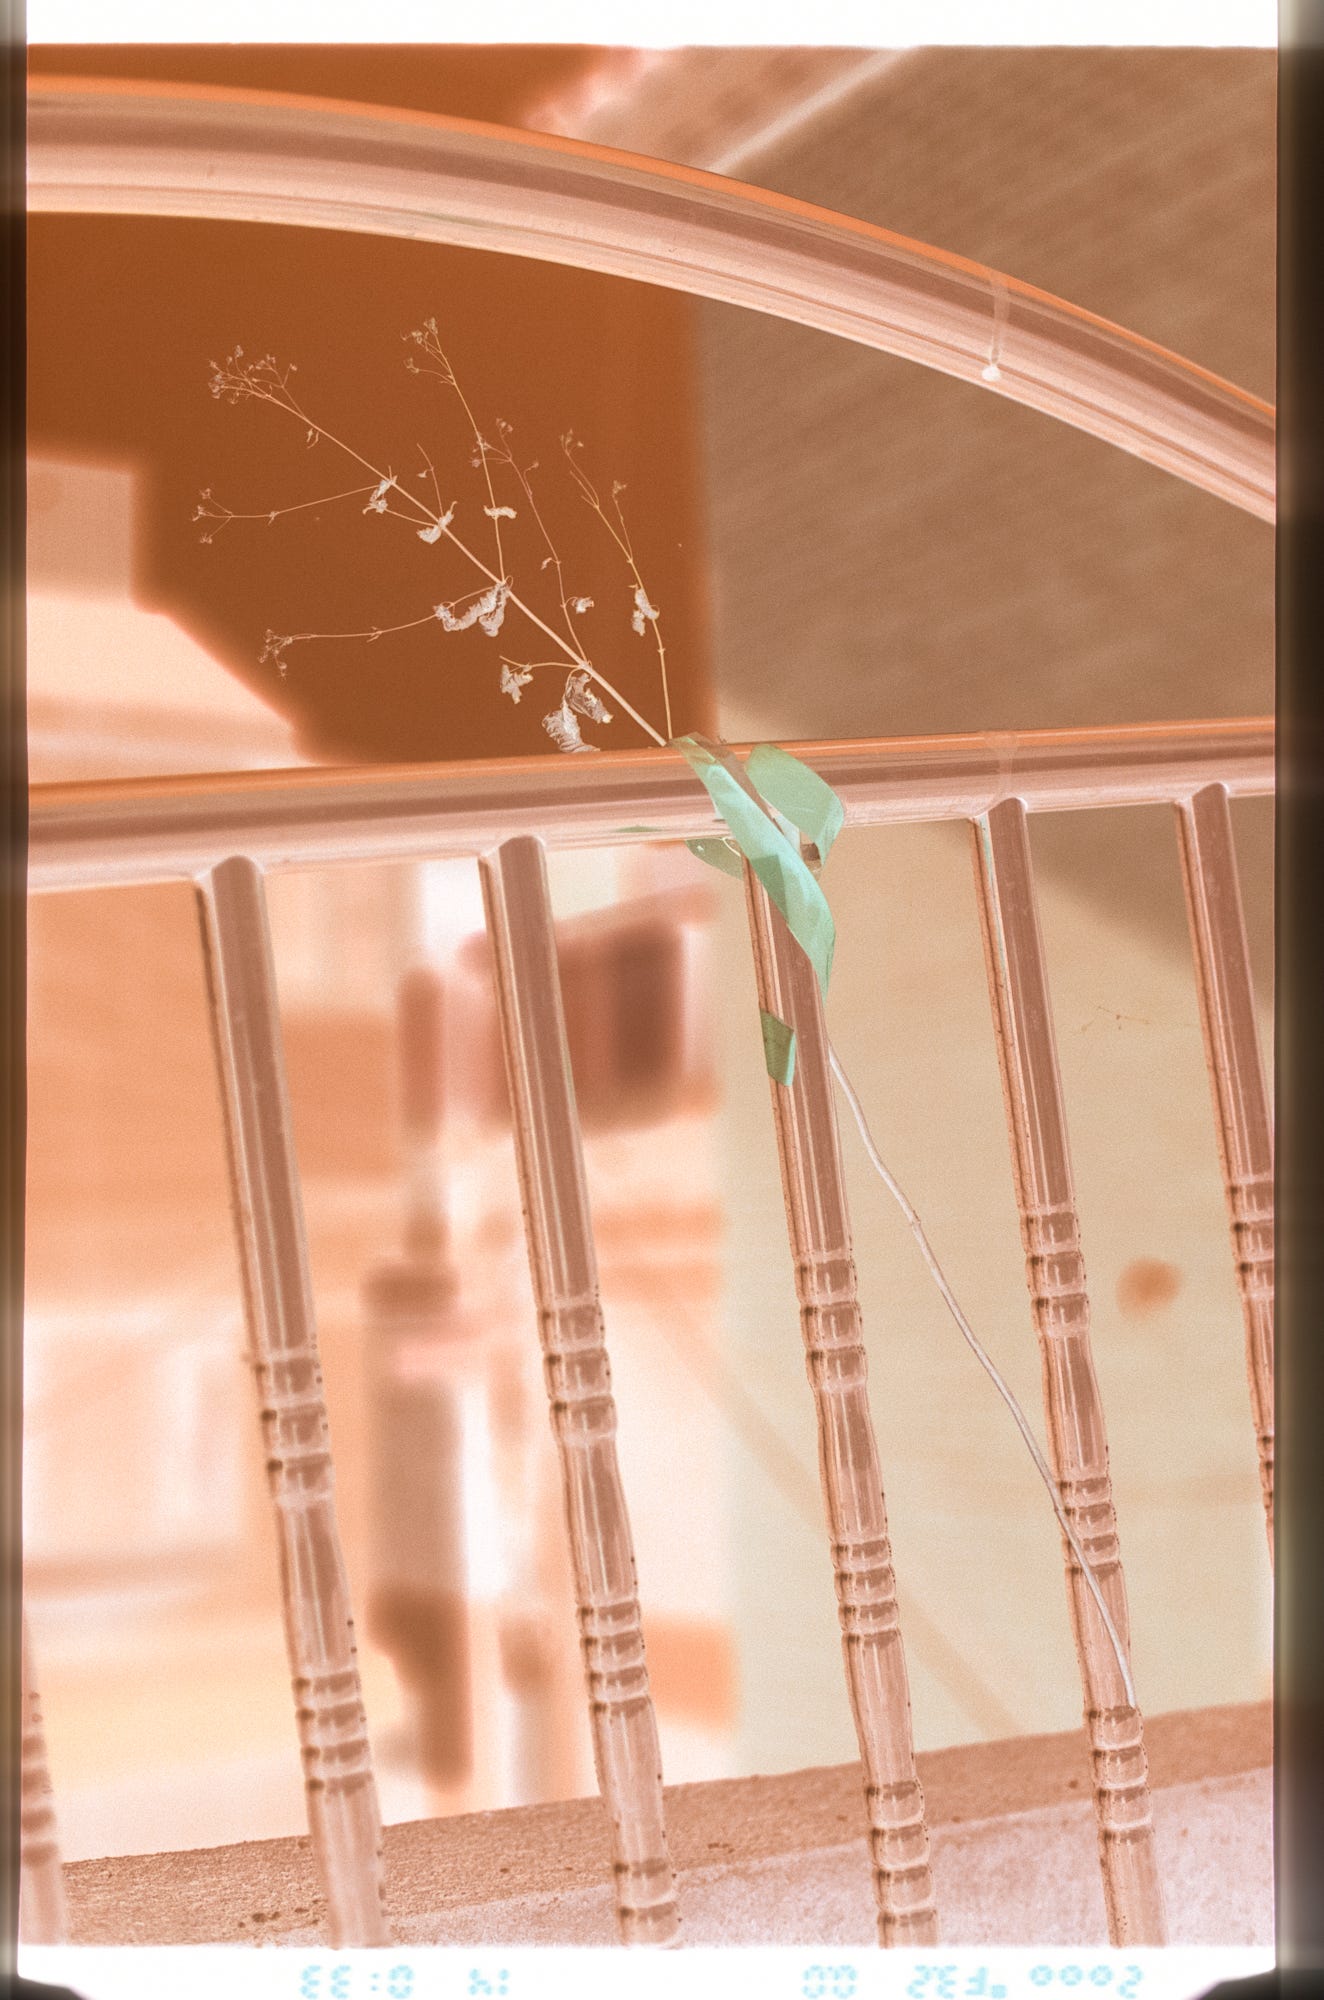
I’ll feed the film strip to my scanner1 which gobbles it stoically and I’ll ask my scanner software2 for a preview of the frame in question. Most times the frame is correctly aligned with nothing at the top or bottom being cropped, but if it is cropped, I have to adjust its position using the software. This can sometimes take a couple of goes, with each adjustment requiring another preview scan. Once the frame is all squared up, I’ll click scan, something inside the device whirrs and gurgles, and a negative will turn up bit by bit on my computer screen. My scanner will then regurgitate the film, I’ll resleeve it, and pop a little sticker on the sleeve to let future Chris know this image is done.
Convert it in Lightroom
I’ll bring the negative into Lightroom, and using Negative Lab Pro I’ll convert the image into a positive. Before I can edit it, I have to export the positive as a .tiff and reimport it3. I find NLP is pretty good for seemingly non-destructive editing of the global brightness and contrast, and pretty brutal for specific colour editing. In other words, it’s a first pass at getting your image in the ballpark of how it should look.
Finalize the Colour
I’ll then edit the colour and brightness using Lightroom proper. You kind of have two choices here:
a) Edit the image to look how you want it to look,
or
b) Edit the image to look like the lab scan that is probably a bit whack but you’ve grown attached to it anyway.
I do a little of both. I’ll sometimes keep the lab scan open on my computer as a reference, but I try not to be too pedantic about my scan and the lab’s looking exactly the same. This is also the step where I’ll crop the border from the image.
Edit Scratches and Evaluate Life Decisions
In most cases the longest part of the process, and the part that has me a little peeved that I stayed with my old lab as long as I did4, is cleaning the scratches off the image. A few scratches are pretty normal, and unless you’re printing the images big, you’d never even notice them. Nevertheless, I’m taking each image into Photoshop for a clean, and while the majority have been quite quick and easy, a few have left me more scarred than they were.
Save a Final Version That If Done Right, Looks Pretty Much the Same As What You Already Had
I bring the newly cleaned image back into Lightroom, and it will live there until I’m ready to start exporting for the design process in InDesign. My catalogue ends up looking something like this, with the final PSD on the left, the converted negative DNG in the middle and the TIFF on the right:
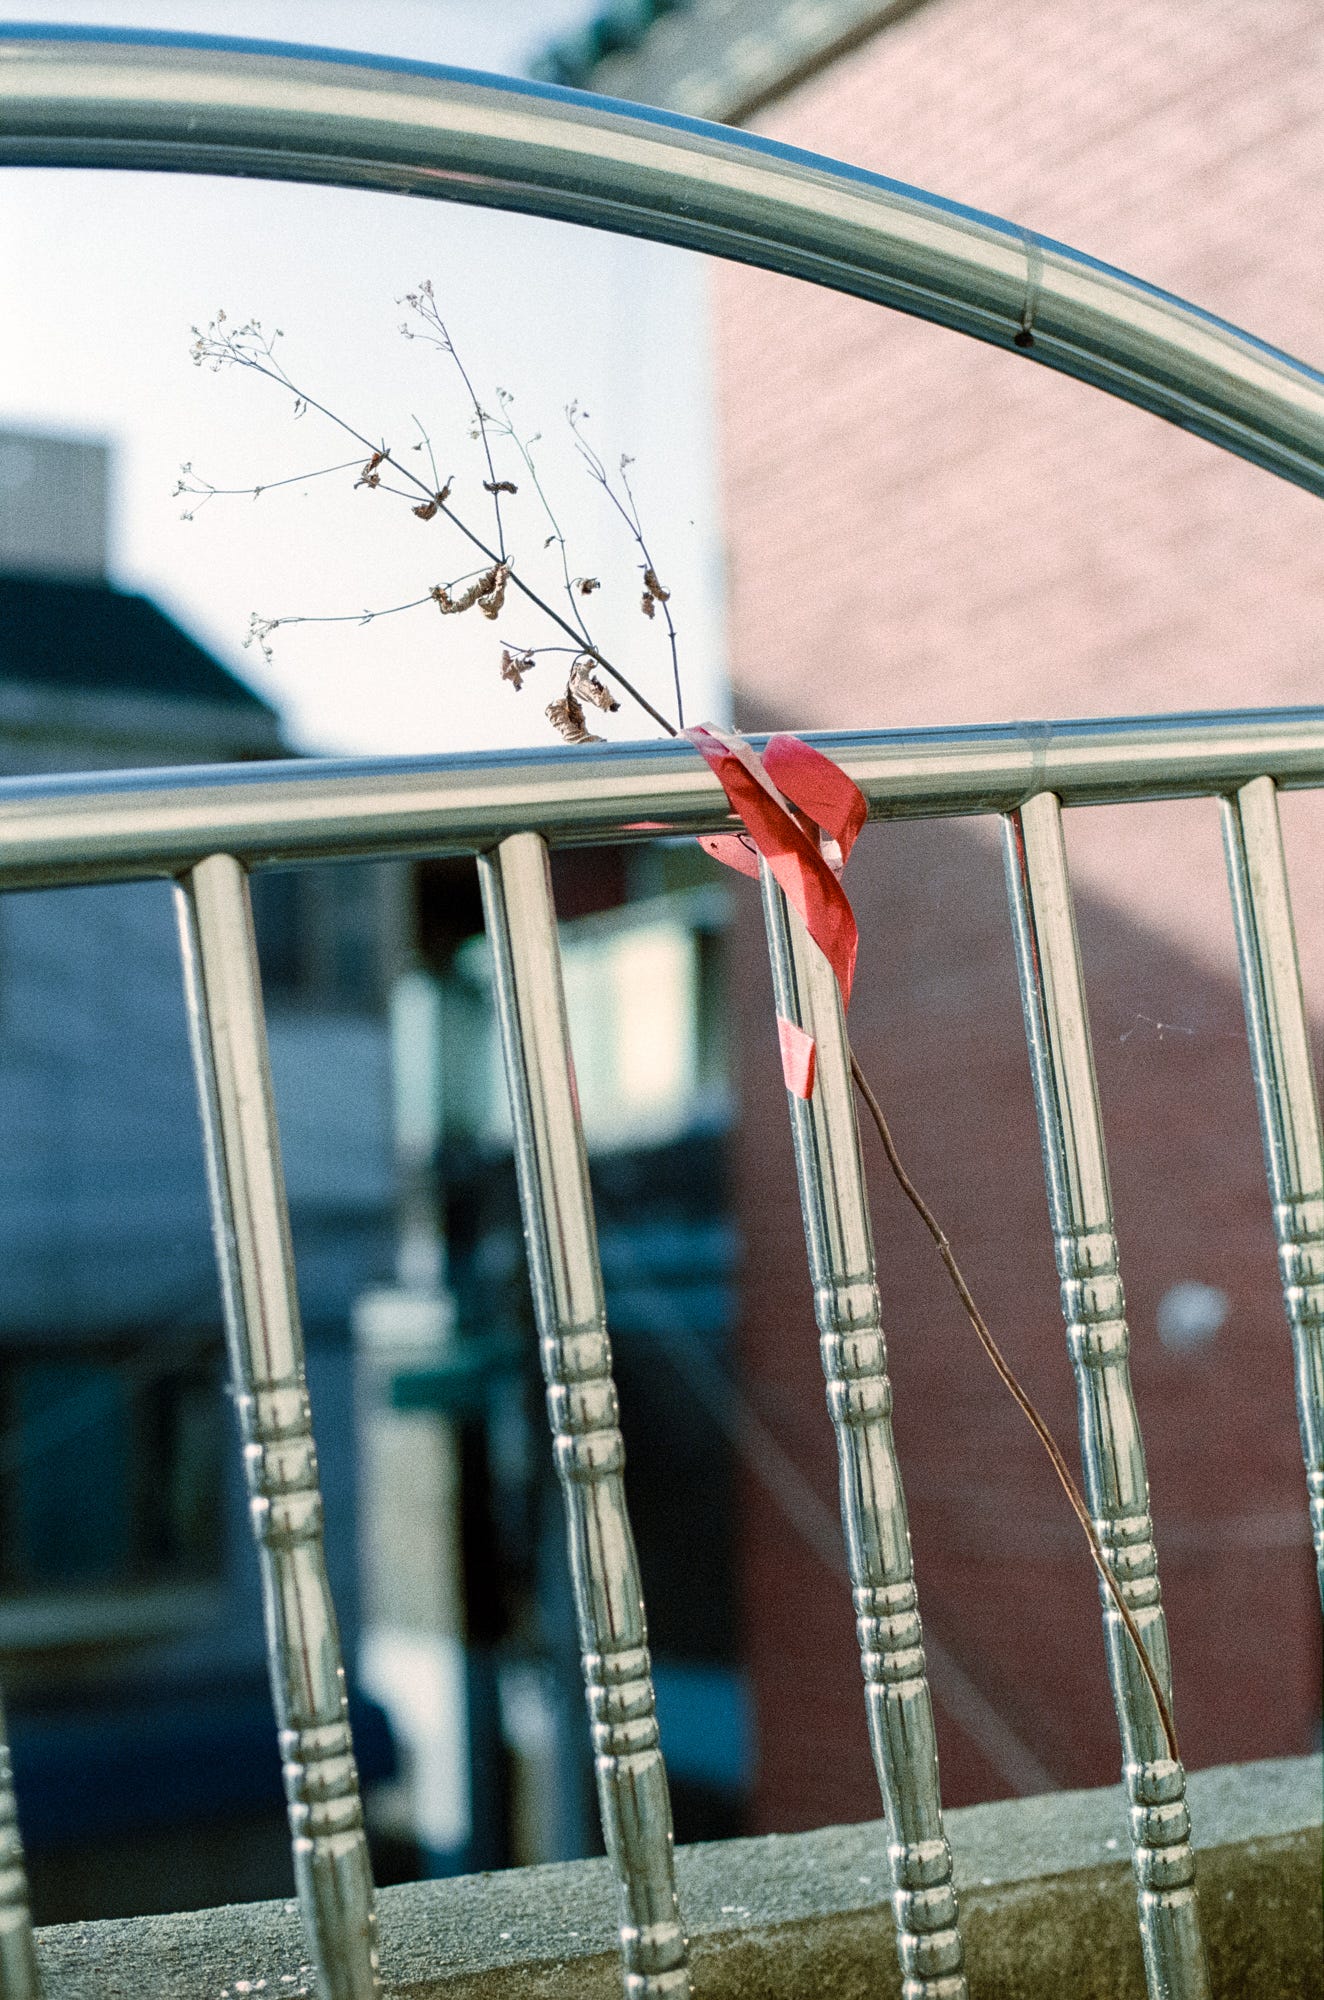
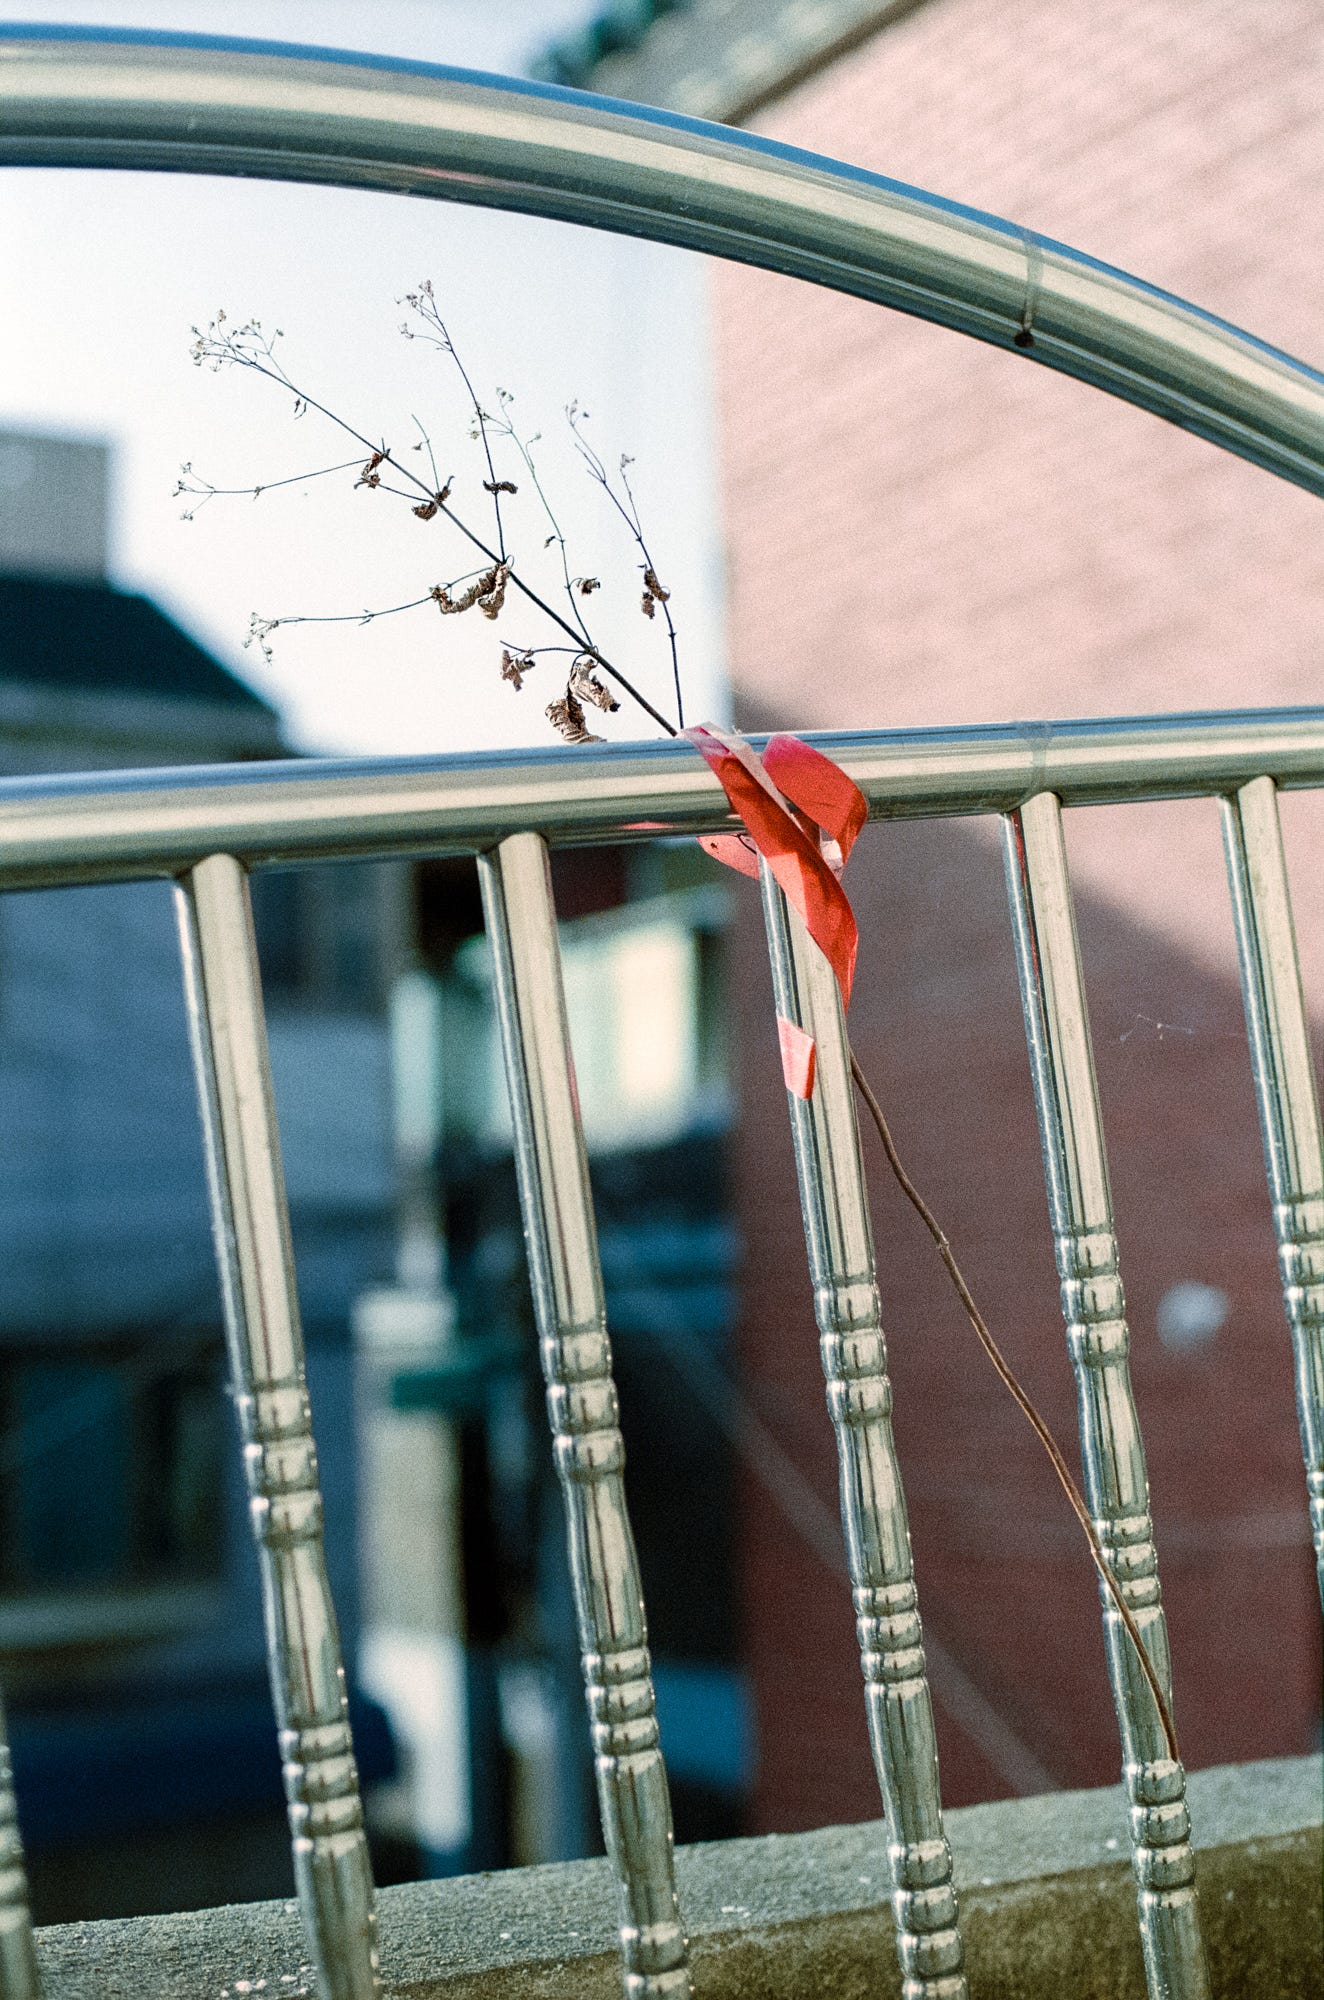
And here’s the final image:
Before You Go Let Me Tell You About How…
I shot this one in a neighbourhood maybe 10 minutes away from where I live. That neighbourhood’s getting torn down now. When I was visiting it, maybe 2 years ago, a lot of people had already moved out, many of the buildings were barred from entry and there was a hush to the whole place. I’d been walking the ridge line (the area is capped by a small forest on a hill) when I found my way down through some of the older residential blocks into a secluded pocket not clear from the road below. I don’t know who taped the flower to the fence, or why they did it. But it felt like a gesture to the place, one that was aged and forgotten too.
Cheers,
Chris.
Nikon Coolscan 5000
Vuescan
This is because if you edit the converted negative directly everything is backwards and kind of a little off. Try to pump up the exposure and expect it to get darker, things like that.
The thing is they were really nice. They knew me by name, were always down for a chat and even gave my wife and me a disposable camera with our picture on it when we got married. I’d trade that camera any day of the week for negatives that weren’t stored in an iron maiden.





For the Nikon 5000 I use a Windows XP virtual machine on my Mac which allows me to use the original Nikonscan software which is much faster than NLP and more accurate, with killer Digital ICE dust and scratch removal. I think there’s also a driver hack for modern versions of Windows that allows you to run Nikonscan directly if you’re Windows-based.