∴How to Make a Photo Zine - Pt 2∴
Finding a Print Shop and Using Indesign
In the last newsletter I sent out, we went over the first two steps of how to make a photo zine: your idea and your rough image selection.
This week we’re getting a bit more technical by discussing your print shop, and how to use Indesign.
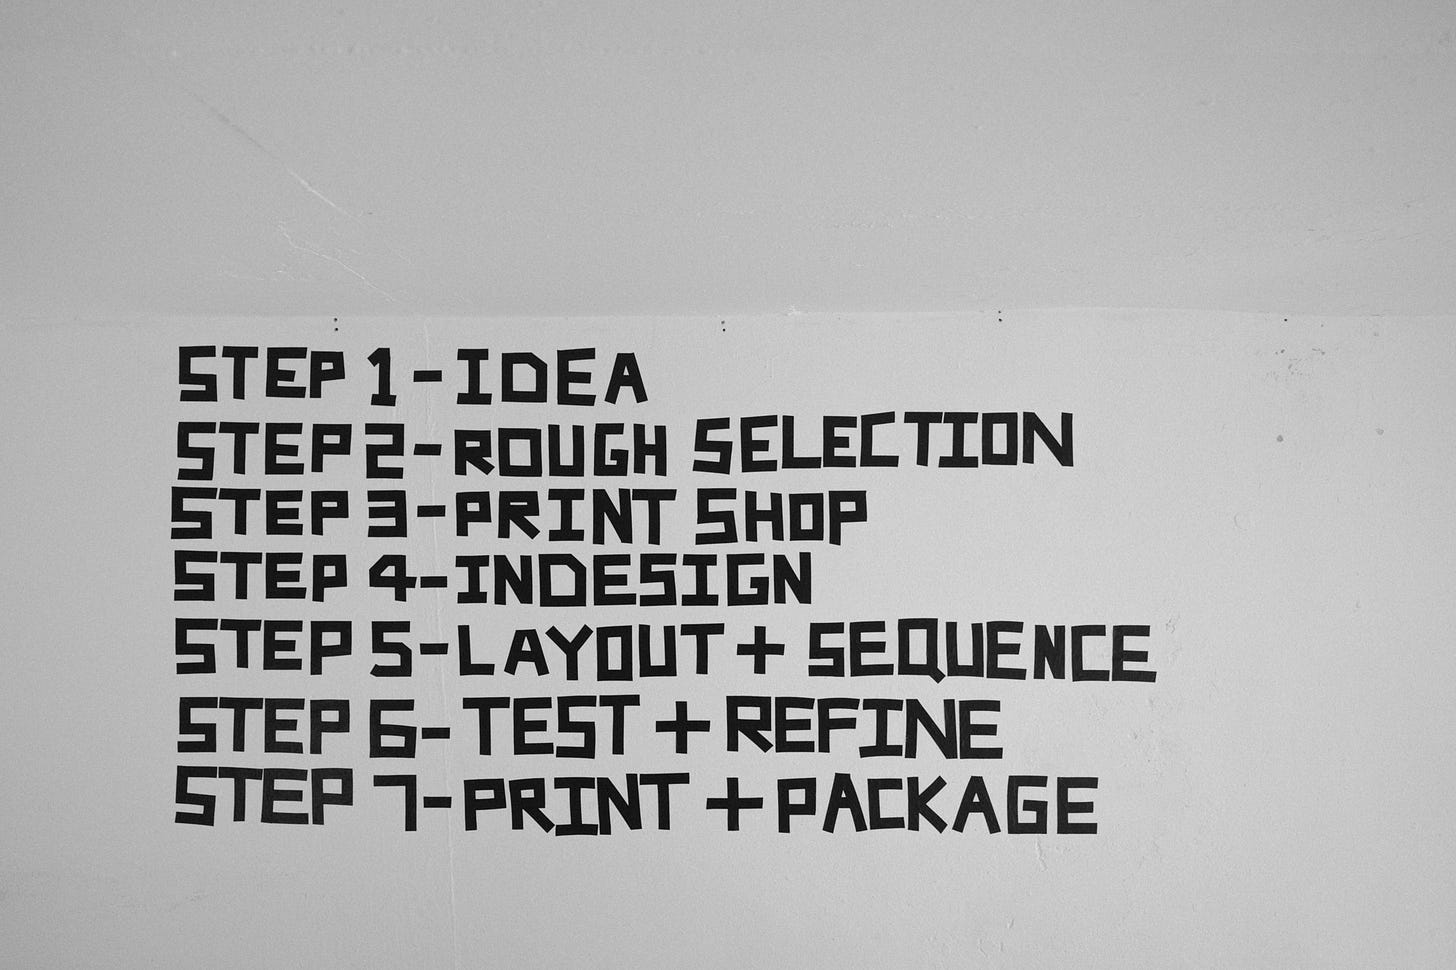
Here’s the whole list of steps again:
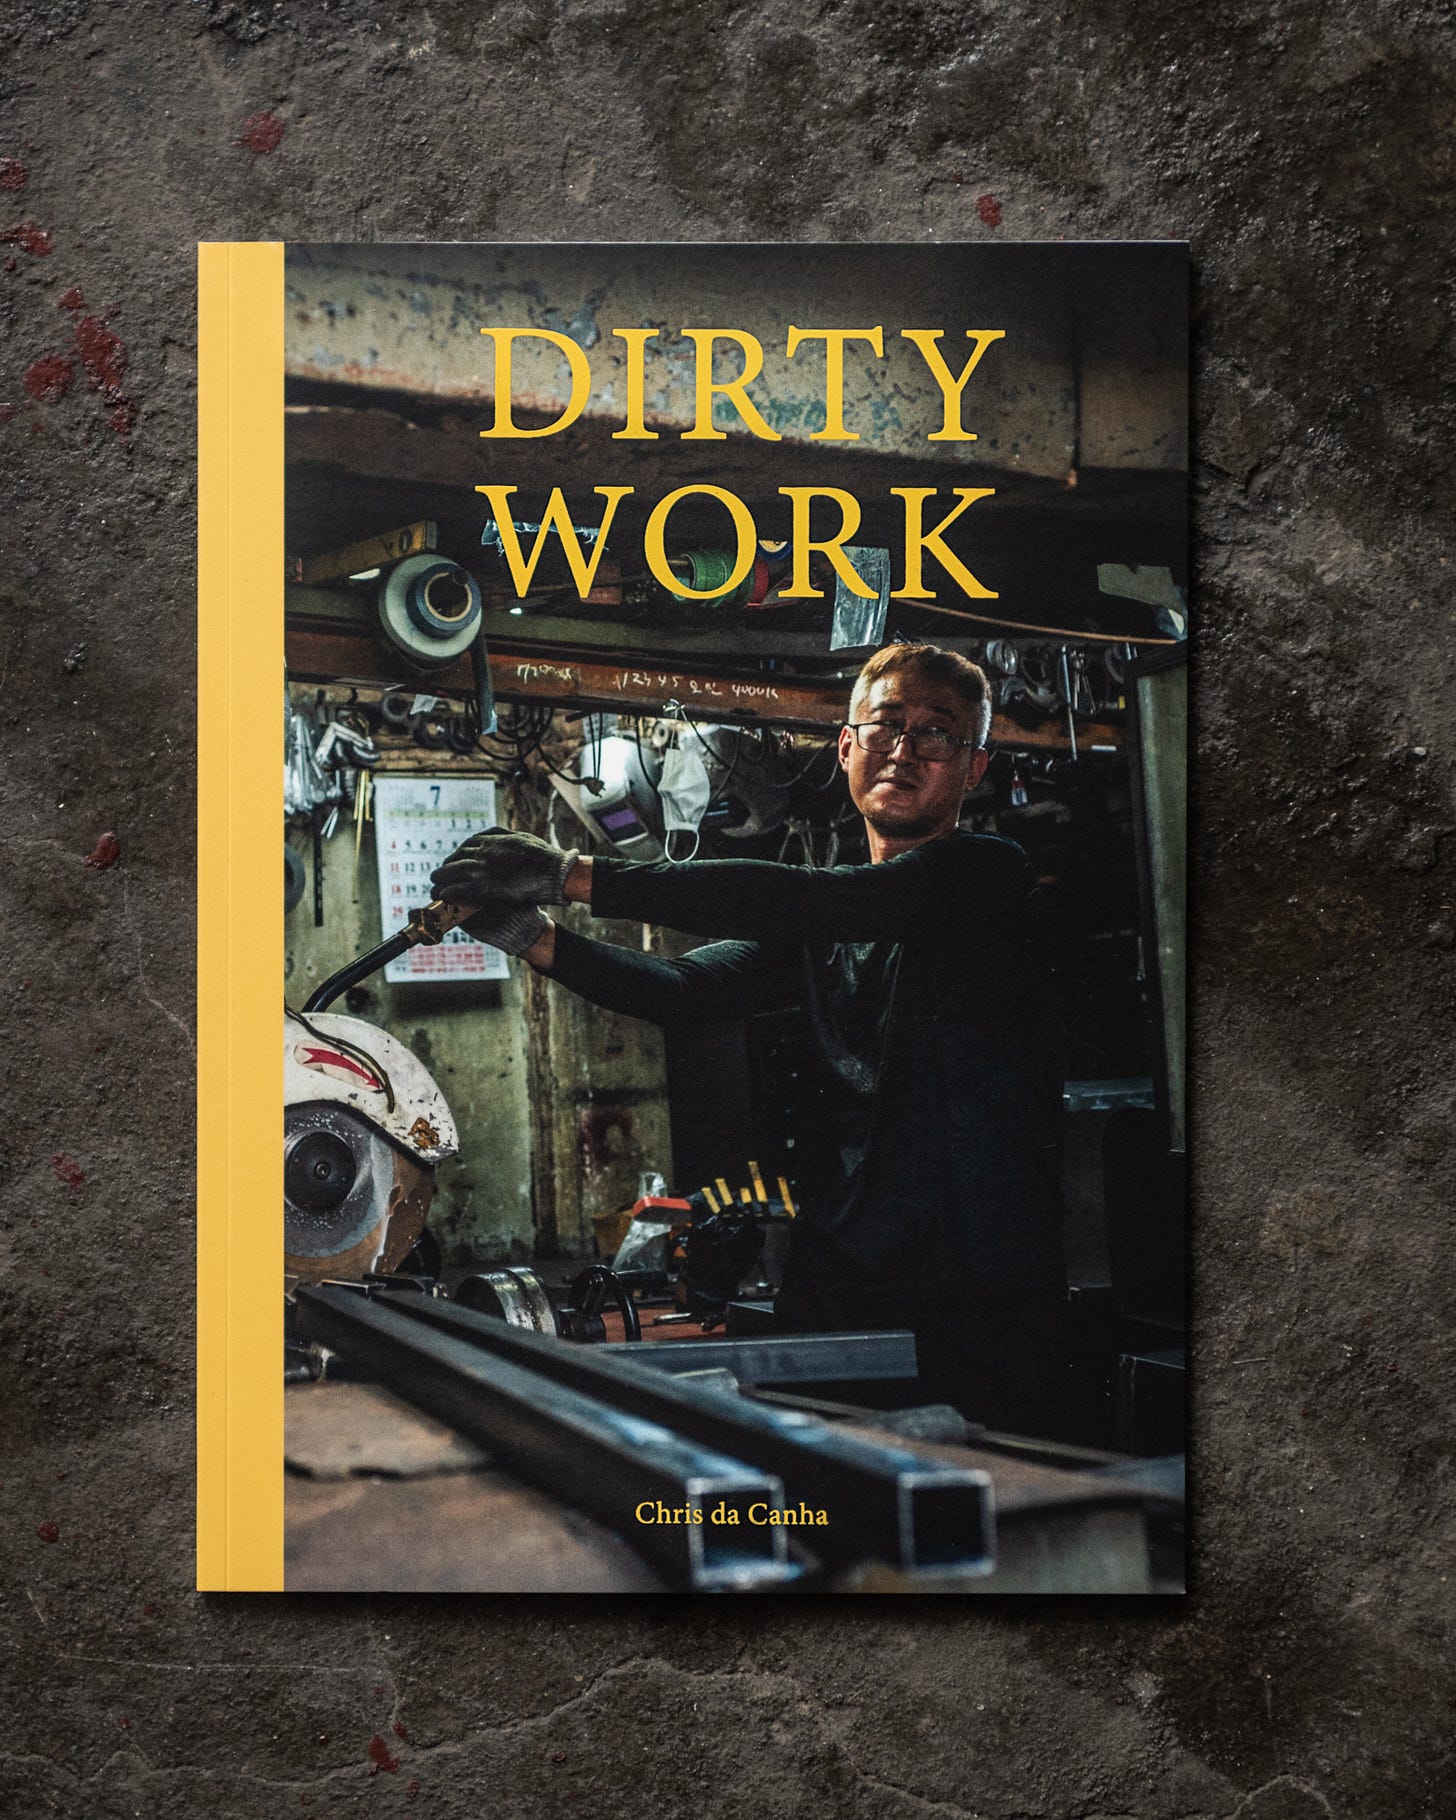
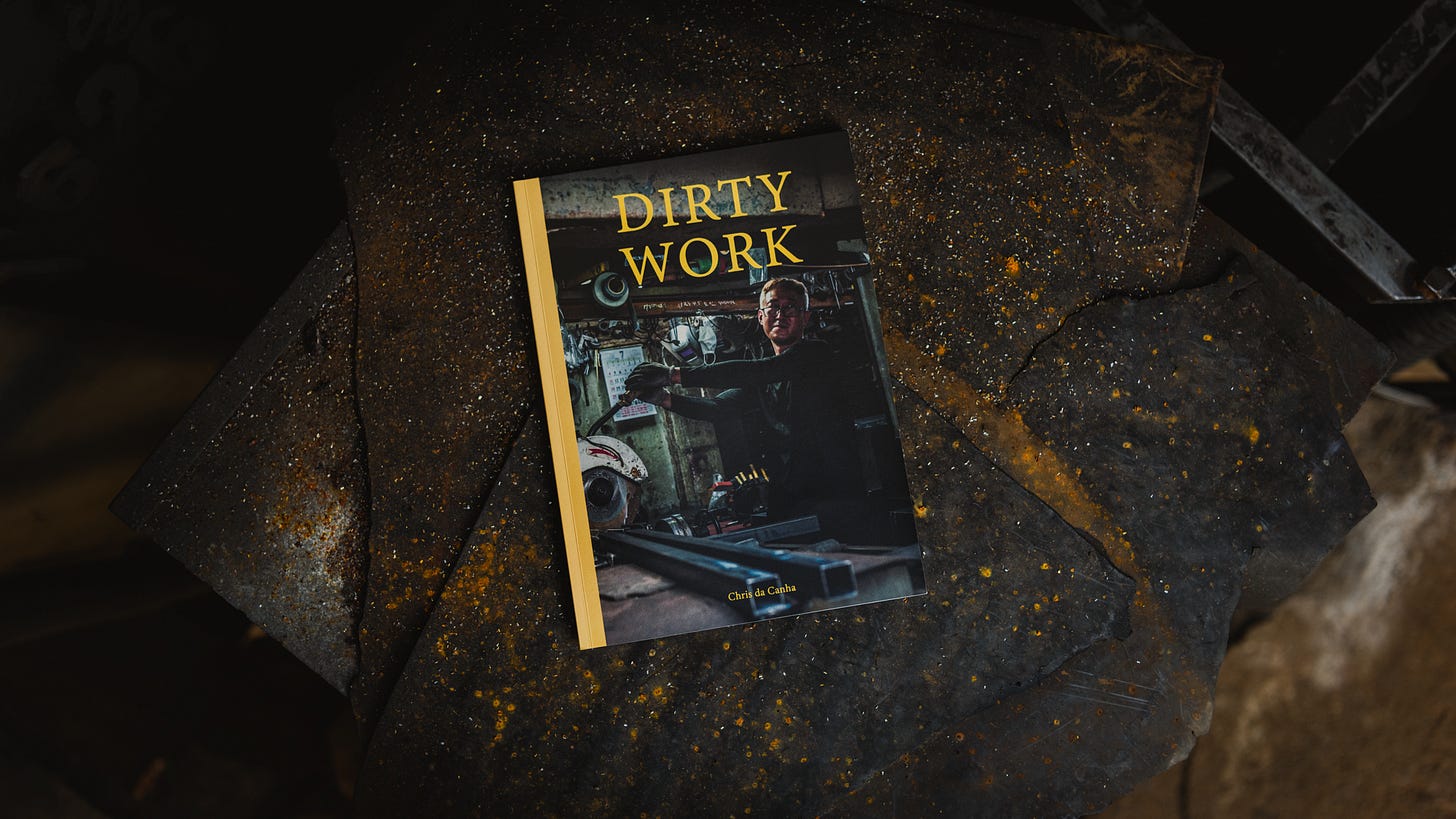
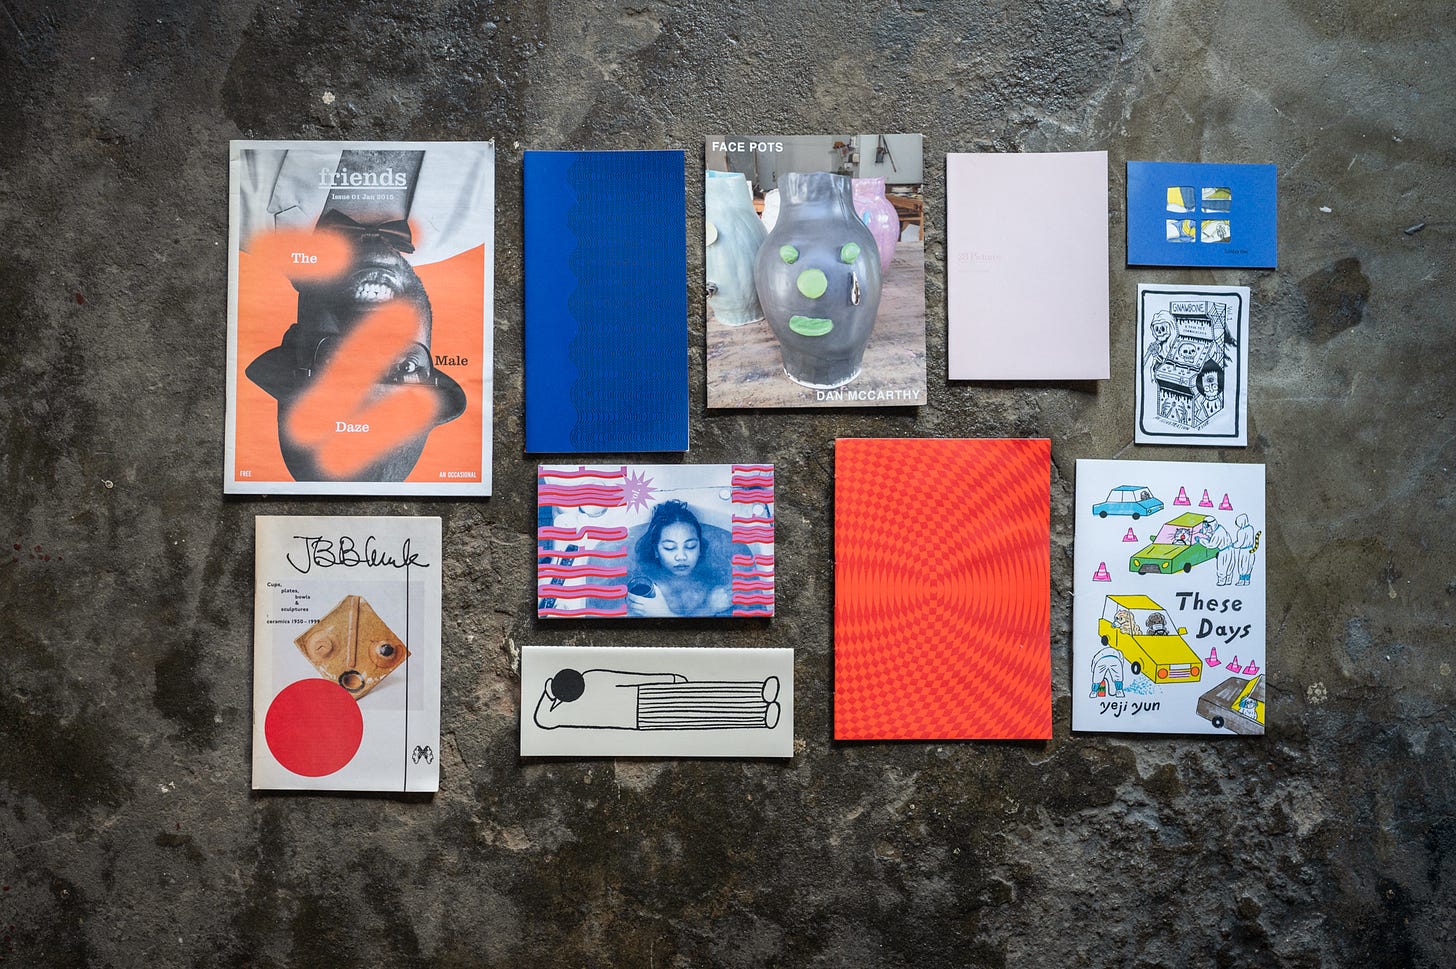
And here’s what I made by assiduously following these steps:
Last bit before I dive in: I’ve made this guide into a full length YouTube video.
I hope you check it out. There’s quite a bit (like a visit from my local Japanese Buddha evangelist, or jazzy screen-printing at a downtown pace) that is only in the video and didn’t translate to written form. I worked hard to keep it fun and helpful, so here, I’m sure there’ll be something in it for you. If you watch it, please let me know!
Moving right along:
Step 3 - Print Shop
It might be a surprise that I’m putting this step fairly early in the process.1 The reason is that you want to know your print shop’s limitations before you design your zine. There are several things you’ll have to choose during the design phase - size, spine, paper - and you’ll want to know what your shop is capable of before you make those decisions. It would cause a lot of heartache if you design X and they can only produce Y.
A lesson I’ve learned the hard way is that you’ll accomplish far more working within your limitations than you will railing against them.
This worldview is good enough for Abbas Kiarostami, and so it’s good enough for me.

Anyway.
I found an online print shop2 here in Korea. I could check out all their options for paper and sizing, choose how many zines I intended to print, and determine the estimated cost3 from that.
Here are some of the things you’ll want to find out from your print shop before you start designing:
Size
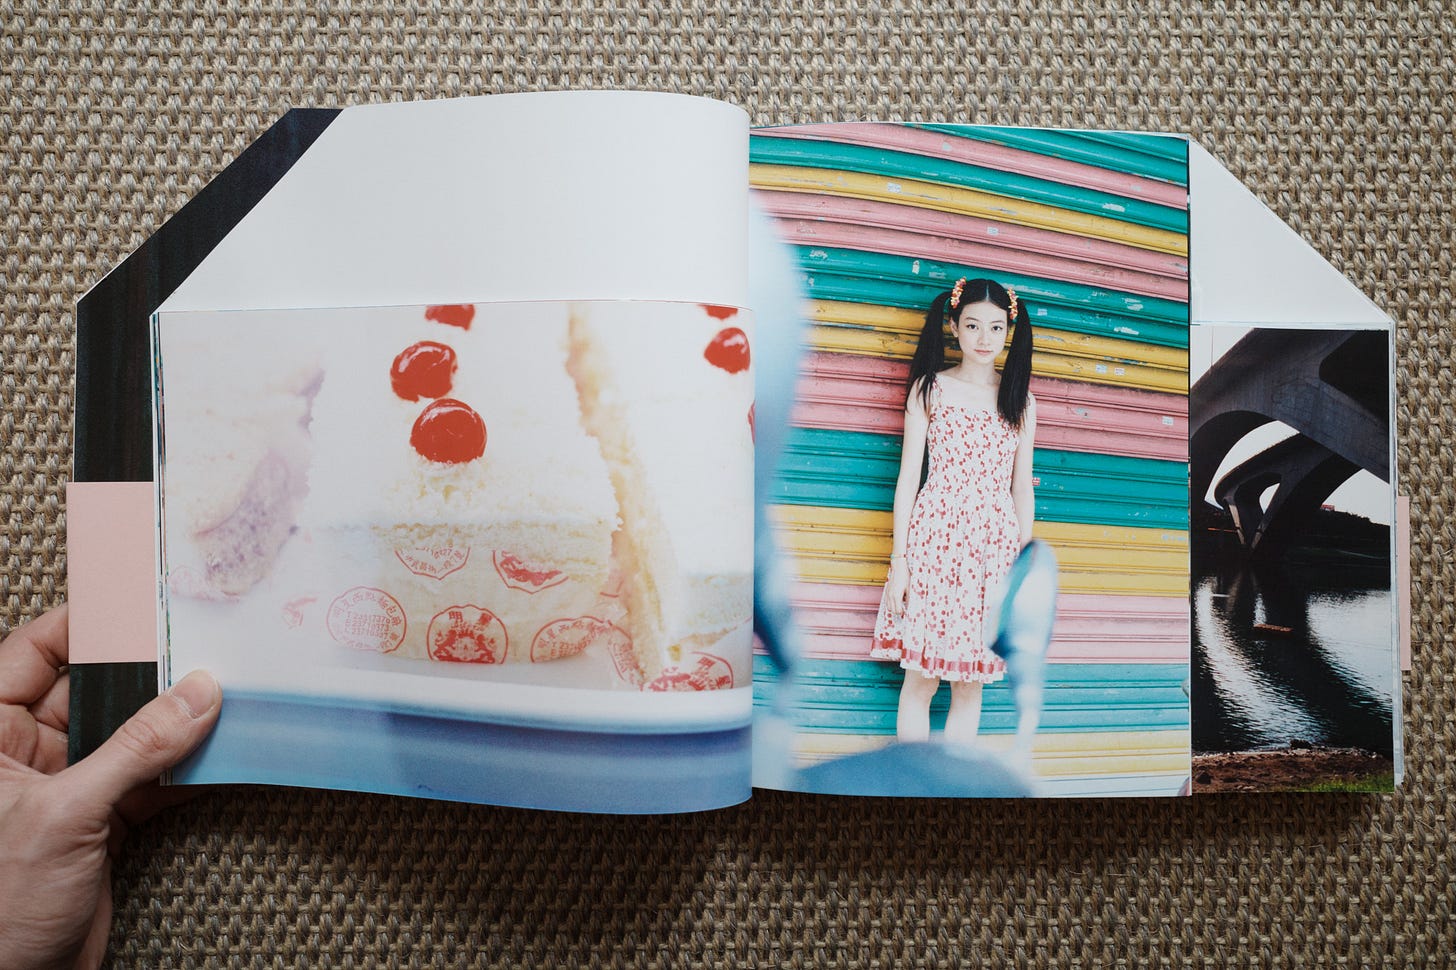
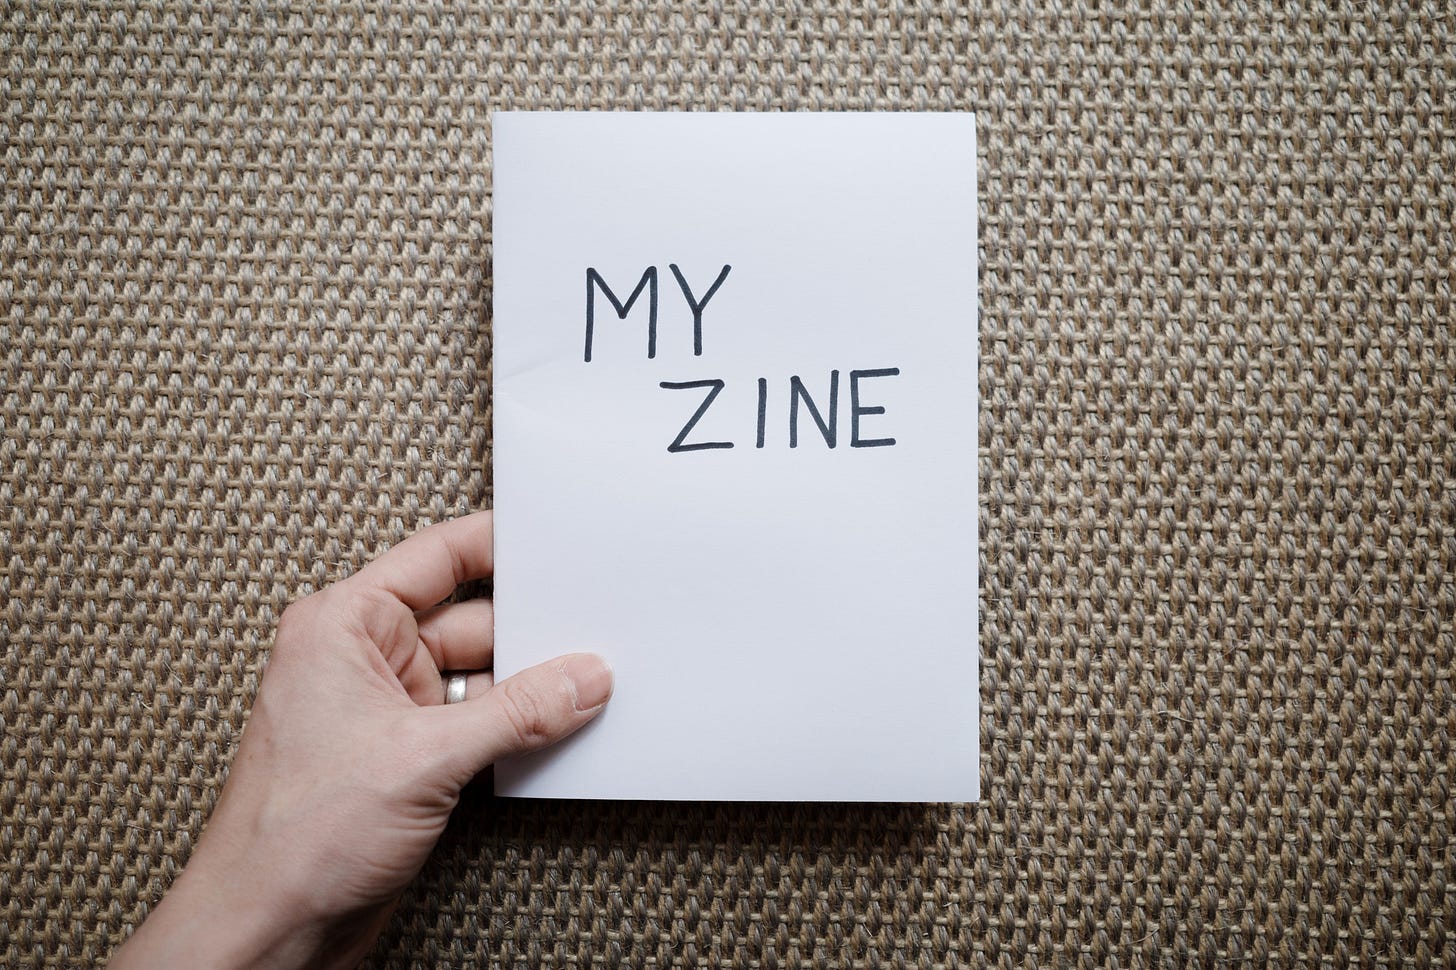
There are a few standard sizes for zines. Some of the terminology and sizes will differ across countries, but out here A4, A5 and B5 seem pretty popular. When I made Dirty Work, I made it B5:
That size felt appropriate for the subject4 and conveniently it was one of the print shop’s preset options.
Typically custom sizing is available, but considering this may require bigger sheets of paper or more labour, it might affect the price.
Spine
There are a number of possible spines for a zine, but the three most basic seem to be:
If you go with saddle stitch or thread, you won’t need to design a separate cover PDF. It’s a straightforward print and bind situation.
If you go with perfect bound (which is cool if you want to print on the spine) then you will need to make a separate PDF just for the cover. This cover will be glued (though thread is possible here too) to the edge of the inside pages.
For Dirty Work I went with a perfect bound spine.
So I made a separate PDF for that, which I’ll show you in a bit!
Paper
Some paper will suit your zine more than others. It’s hard to imagine a punk zine on a glossy fashion rag or gentle, personal images on rough card. You’ll want to see what’s on offer.
If you can, try your luck and see if your print shop has a sample pack of paper. Or if you go to a physical store, you can ask to see print examples. Ultimately, the paper you choose will fall within the two poles of matte and glossy.
Maybe my Korean wasn’t up to the challenge but when I called my print shop they seemed perplexed as to why I’d want to see paper before it was printed on. As such, I went in blind.
The first test came back too glossy and smooth for my taste. The second came back a little more coarse in texture, which suited the subject much better.
When the time comes to get your zine printed you'll be sending your print shop a PDF. That PDF will be made within the step that daunted me the most:
Step 4 - Indesign
The thing that stressed me out was two-fold:
Chances are I’ll set up the document wrong.
Even if I get it right, I’m no designer.
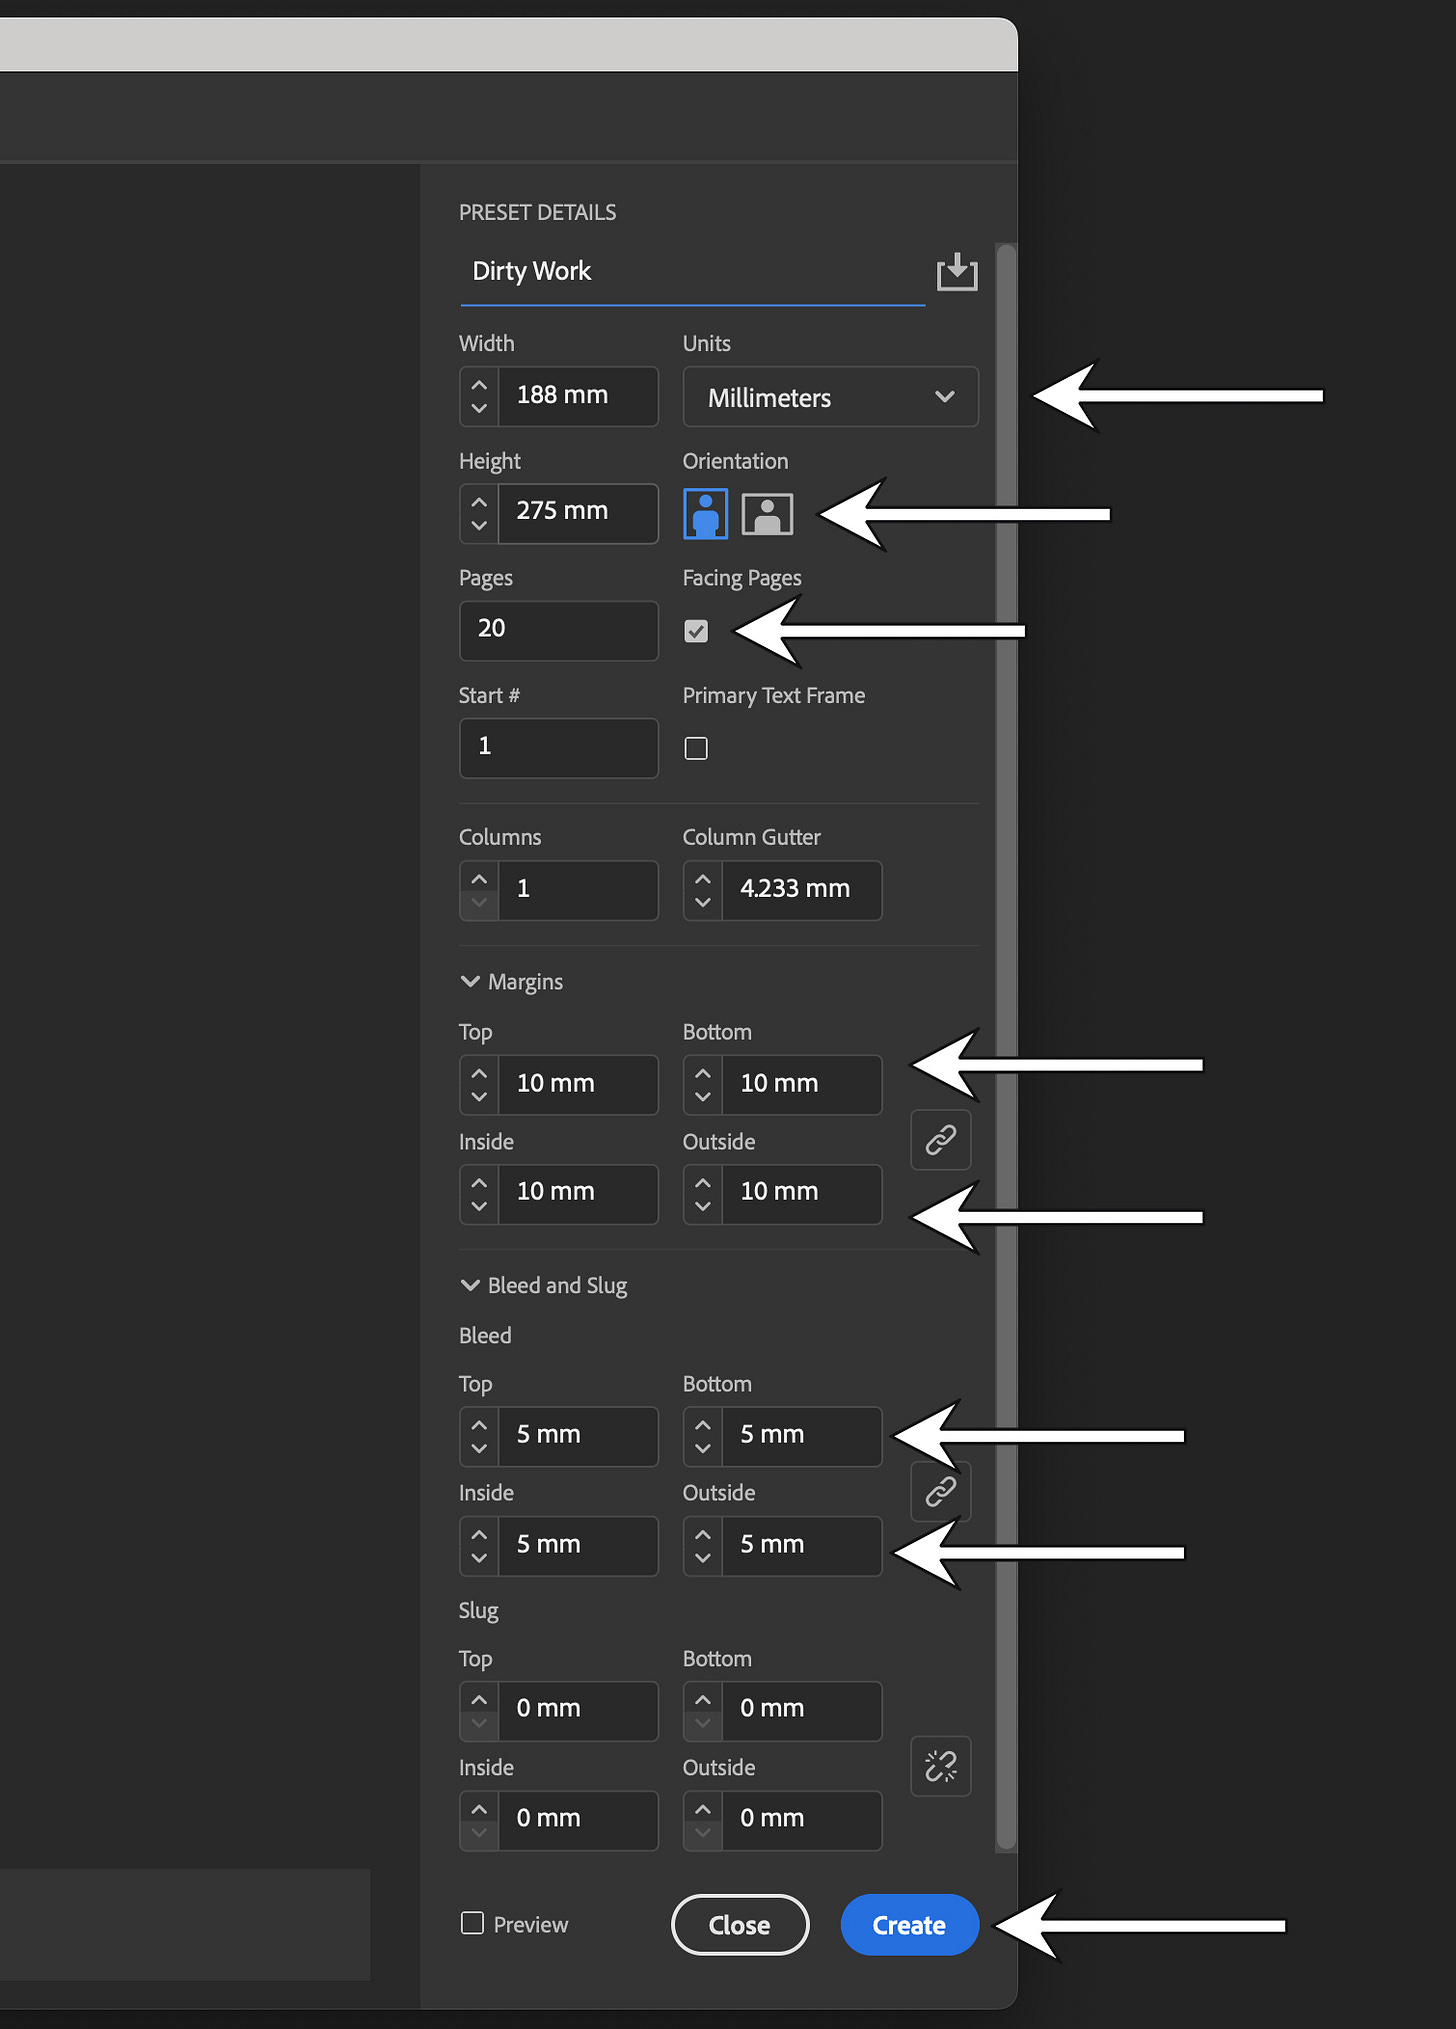
The first thing I did was go to YouTube. It’s thanks to this guy that I can now use Indesign, and if you don’t know the program, this is where you start. Here’s what my document looked like:
I set Measurements to Millimeters
I set the Height & Width to B5 dimensions
I set Orientation to Portrait
I checked Facing Pages (for a double page spread)
I set a Random Number of Pages, but, like, not too many
The Column and Gutter are for the text (and are explained in the video in the only way I know how)
I set the Bleed to 5mm (more on this in a second)
I set the Slug to 0mm and clicked Create.
That was pretty much it! If you are making a saddle stitch zine then you can move on to the next step. If you’re making a perfect bound zine, you’ll need to make a second PDF for the cover.
It’s basically the same as the PDF we just made for the inside pages, you’ll just need to add a gutter for the spine. The width of this is determined by your Page Count X Paper Thickness. I got that figure from my print shop after I’d finalized my paper choice and my number of spreads.
In Pt. 3 I’ll let you know how to export the PDF.
As for the “I’m not a designer” part, I just had to accept this and do it anyway. This is what I learnt and hopefully it helps you:
Keep things simple by limiting fonts, layout, and colours.
Justify your choices.
Be skeptical of flourishes.
Show it to someone who’s opinion you trust, and when you do, pay attention to how you feel when you watch them look at it. They’ll no doubt arrive at a page, a photo, a design that conjures an immediate insecurity in you. This may be for good reason.
I was kind of daunted by Indesign at first, but it turned out to be a lot simpler than I expected. Now that your document is set up, you can go ahead and drag in your images. Exactly how you want to do that is largely a matter of taste, but in the next newsletter I’ll discuss everything that influenced my decisions when it came to Step 5 - Sequencing and Layout. Following that I’ll cover the importance of Step 6 - Test and Refine, rounding things off with Step 7 - Print and Package.
Can’t wait? You don’t have to!
We got a bit more technical today, so please let me know if you have any questions in the comments.
Cheers,
Chris
Or at all. Some people are purists about zines being handmade. Just do whatever it takes to get the job done:-)
The link takes you to the print shop’s website. The important stuff is written in English, so feel free to click around and get a sense of what you’ll be dealing with.
I printed 105 zines (the extra 5 were in case I messed up the screen printing). It cost me around ₩1 400 000 which is just over $1000. That puts it at roughly $10/zine for the printing.
Keep in mind that bigger isn’t always better. Try to think what size feels right for the images, and what will feel right in the hands of the reader.






Researching for creating my own photo zine or something along that way, so good information to have as a reference. Bookmarked alongside Pt 1 :)
Tnx fore making this article 😀