We’re on the homestretch, and your finished zine is in sight. In this final letter we’ll be going over:
Step 5 - Layout and Sequence
Step 6 - Test and Refine
as well as
Step 7 - Print and Package
Don’t worry if you missed the earlier steps! You can find them here in Part 1 and Part 2.
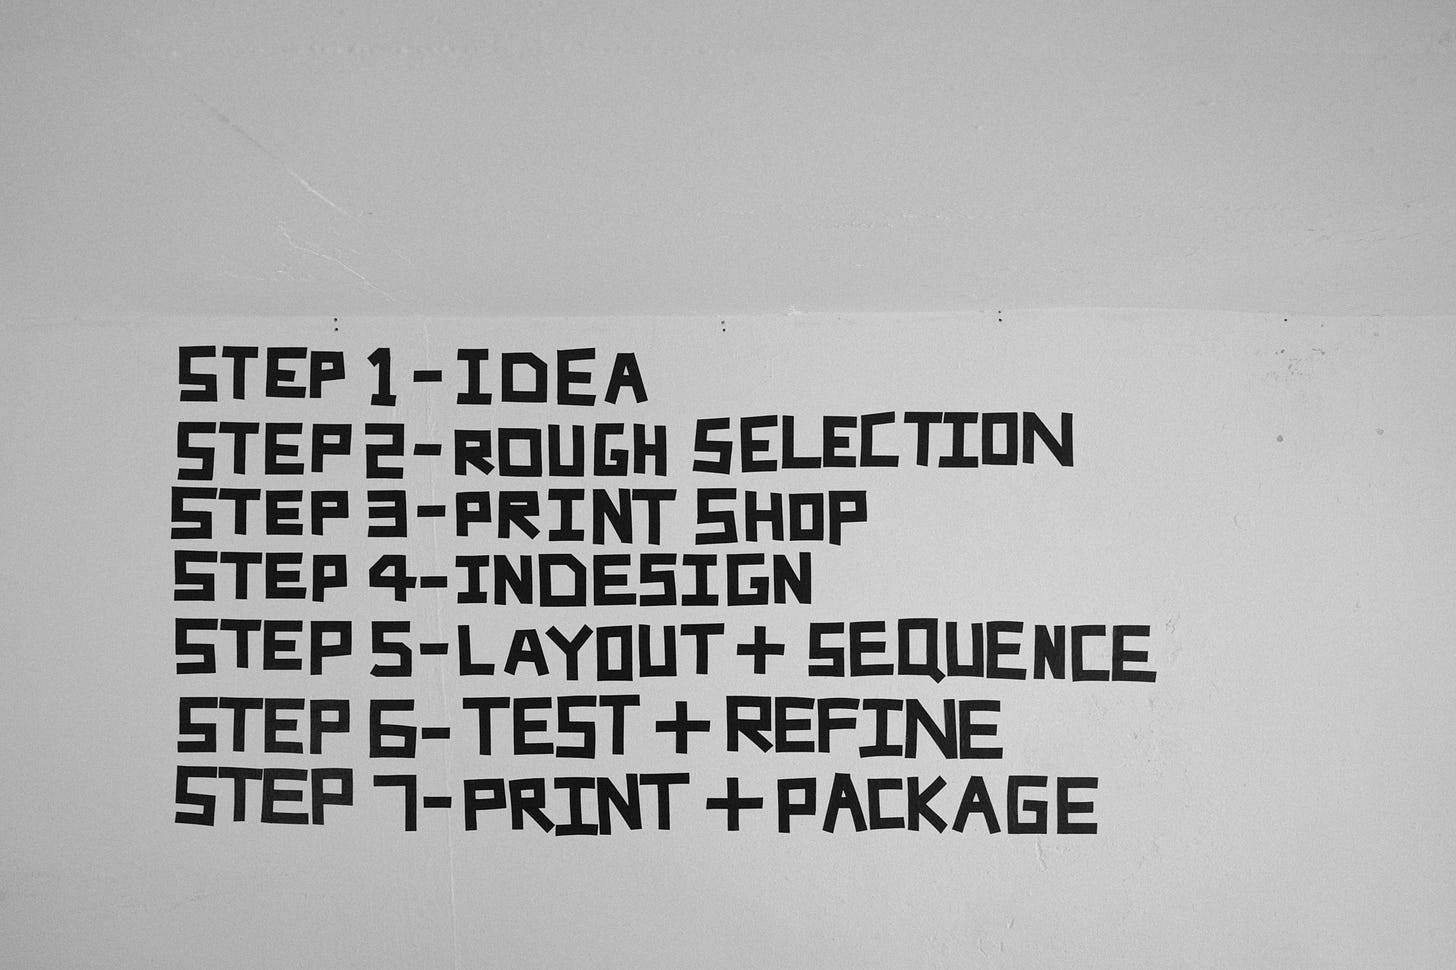
Here’s the whole list taped line-by-line to the wall:
And this is what I made by following those steps:
I also made a full video going through this whole process, plus a little extra. I’m sending this out early on a Sunday morning, so if you’re trying to delay getting out of bed, this is the link for you.
Ok, let’s do it!
Step 5 - Layout and Sequence
Your layout and and sequence will do a lot to communicate your zine’s idea and the mood you’re trying to achieve. In fact, it’s second to only the photos in this regard. To my mind there are three (3) things you’re trying to do here:
Introduce your subject
Expand on your subject
Maintain your reader’s interest
Introducing your subject
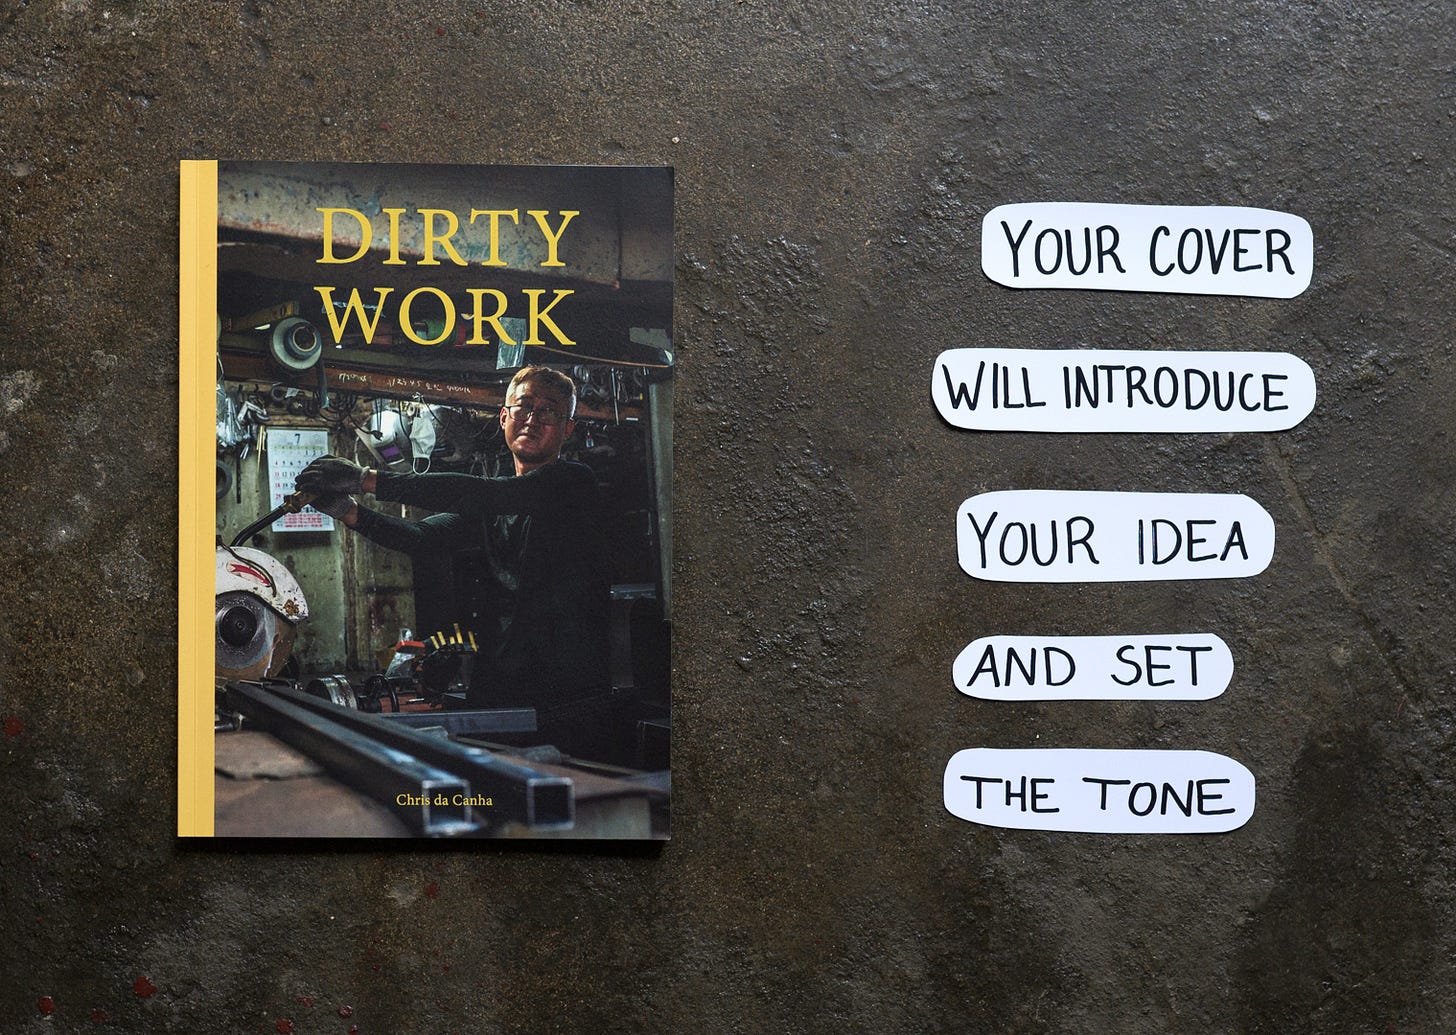
The cover will do a lot of the work for you here. Whether you use a photo, design or text on the cover, try to think about how much information you want to reveal to the reader. Revealing a lot of information can help your reader identify pretty quickly the zine’s subject and whether or not they’ll be interested. Revealing only a little information might inspire a bit of mystery inviting the reader to engage and find out what is between the sheets, but it also might just fail to grab their attention.
As always, I recommend trying to figure out which approach suits the subject best, and taking it from there.
Expand on your subject
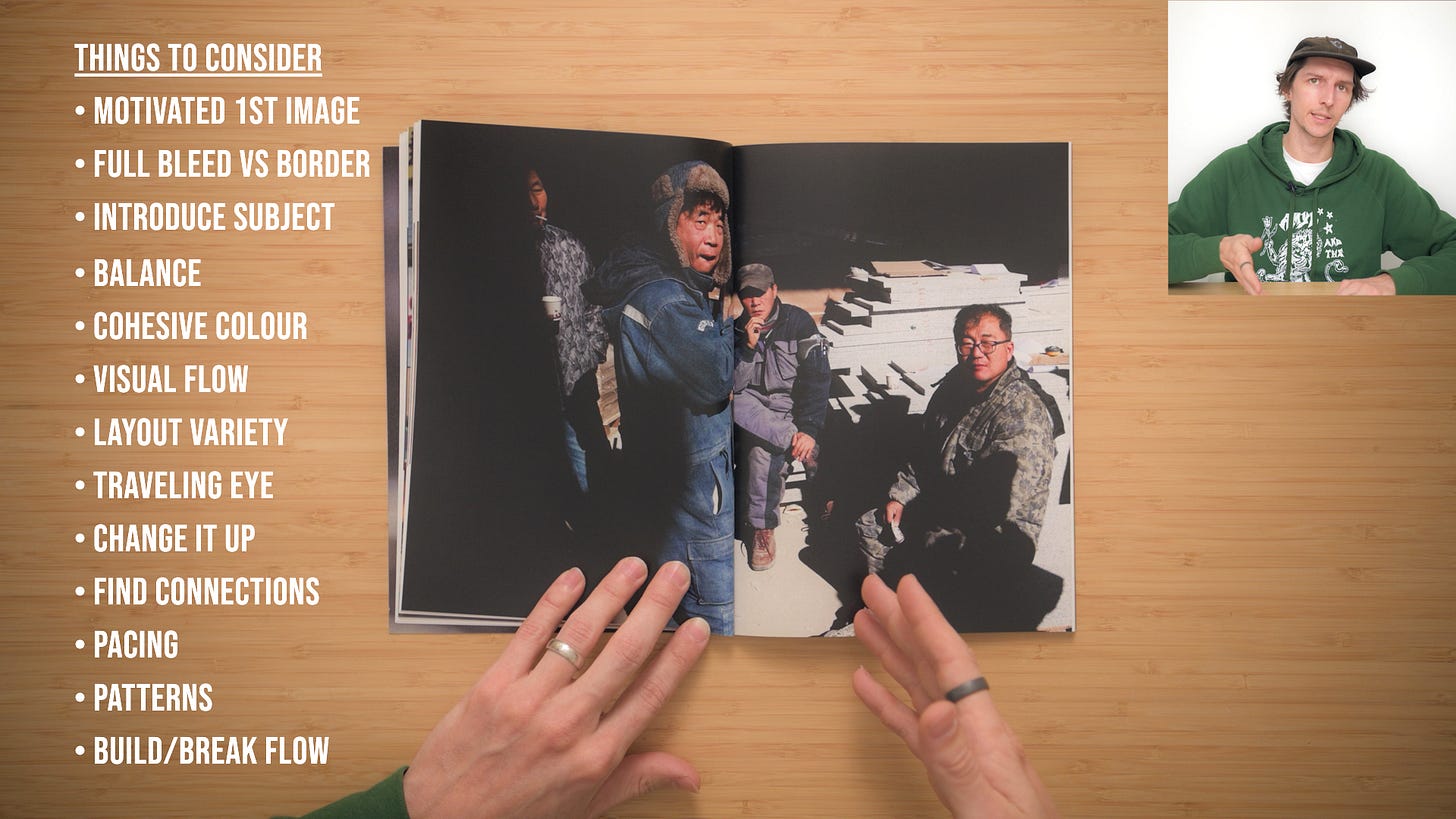
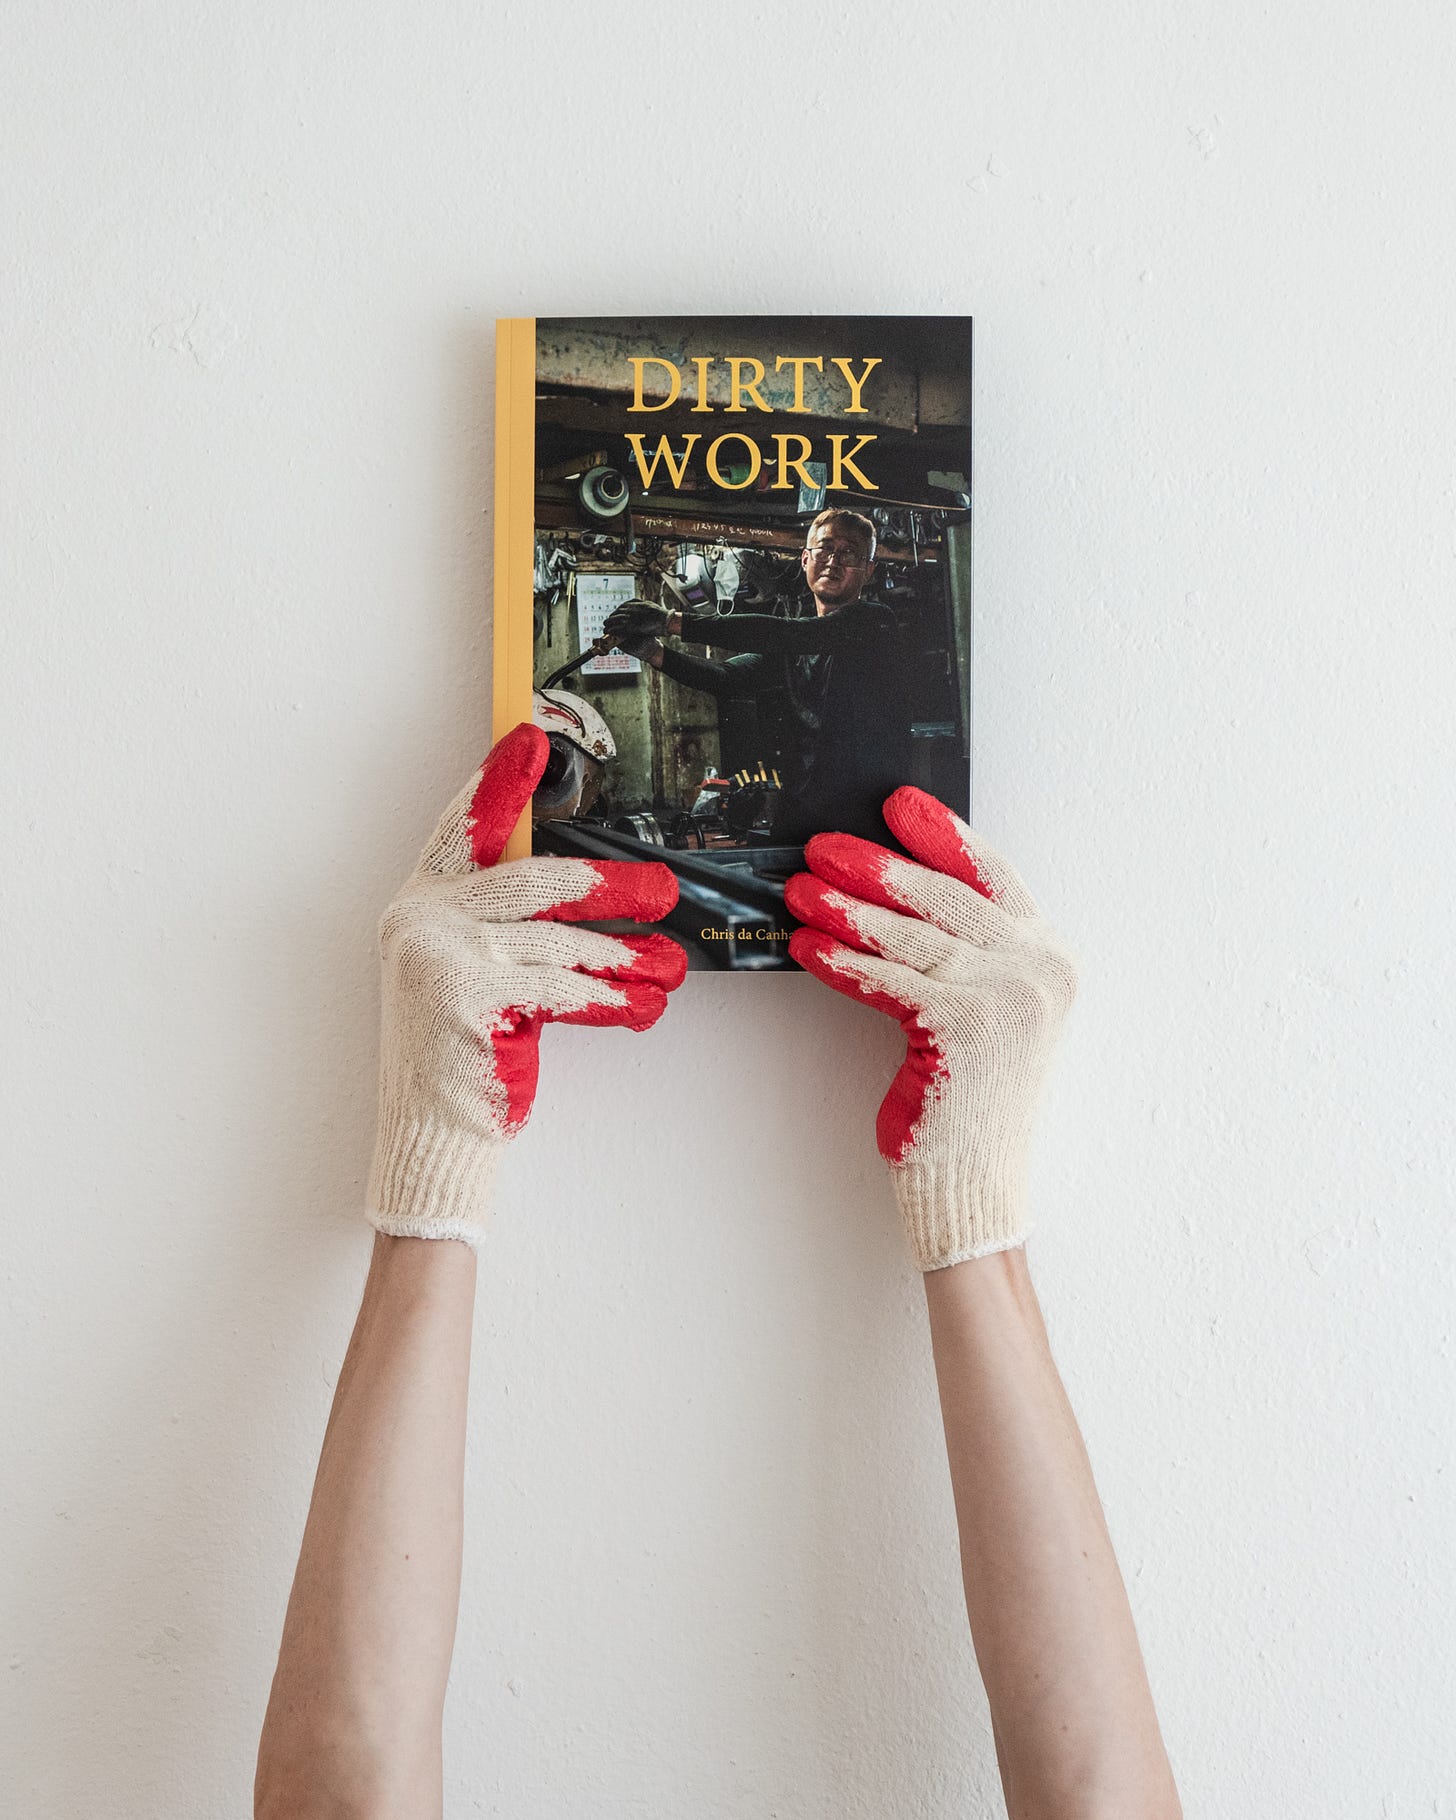
I did a fairly deep dive on this in my video by going through the first 6 or so spreads of my zine Dirty Work. I can’t repeat all of that here, but here are some things to consider:
A few more things to consider:
Have a reason for the order you’ve created
Be able to say why this photo is here and not there
Each image has a relationship with the one before it, the one after it, and the growing image total. Are these relationships faithful to your intentions?
Play! Try different orders and relationships that challenge your assumptions of what might work. You’ll be surprised by how powerful the results can be.
Maintaining your reader’s interest
Throughout your sequence you’ll be building a flow with your images. Once in a while break it. By injecting an unexpected image or a change of format, you can surprise your reader and encourage them to refocus their attention, reengage and find the new pattern you’re establishing. Which you can then, if you want, break again.
I did this by adding three pages of text that were more or less evenly spaced throughout the zine, and paired them with black and white images of symbolic objects.
I also included a small giclée print in each zine of a worker’s glove. I taped it over an image with which it shared a thematic relationship, and I put this toward the zine’s final third, the point at which anyone’s attention is most likely to flag. I tried to find ways to keep the reader enjoying the experience of the zine, and you’ll want to think about that too.
Layout
The main decision to make here is how many images you want to be visible at once. If each image demands deep consideration, you’ll want to have only one per spread. If the images work best through the relationships they form, then placing them side by side or having multiple images in a spread may suit you better.
Here are my spreads:
I kept my layout relatively limited by having a total of four styles. I then alternated between these styles so there’d be some variety but without seeming haphazard.
Step 6 - Test and Refine
*Please do a test print!
The zine will always look different on a screen than it does in your hand. A test print is vital for you to work out the last of the kinks and to see that your ideas translate to the page. You’ll get immediate feedback on all of your decisions from the image order to the paper choice to the font size. Seeing a test copy before you invest in a full run is practically guaranteed to save you money and heartache.
I recommend printing two test copies if your print shop will allow it. That way you can arrange them side by side, try out different image pairings, and if you need to you can write notes on one while keeping the other in good condition for reference.
A test print will also let you check that the colour is coming out as you intended, and if not, you can make some tweaks.
It’s a good idea to do a second test print if you’ve done any major changes. Once you’re satisfied that everything’s in order, it’s time for the final step!
Step 7 - Print and Package
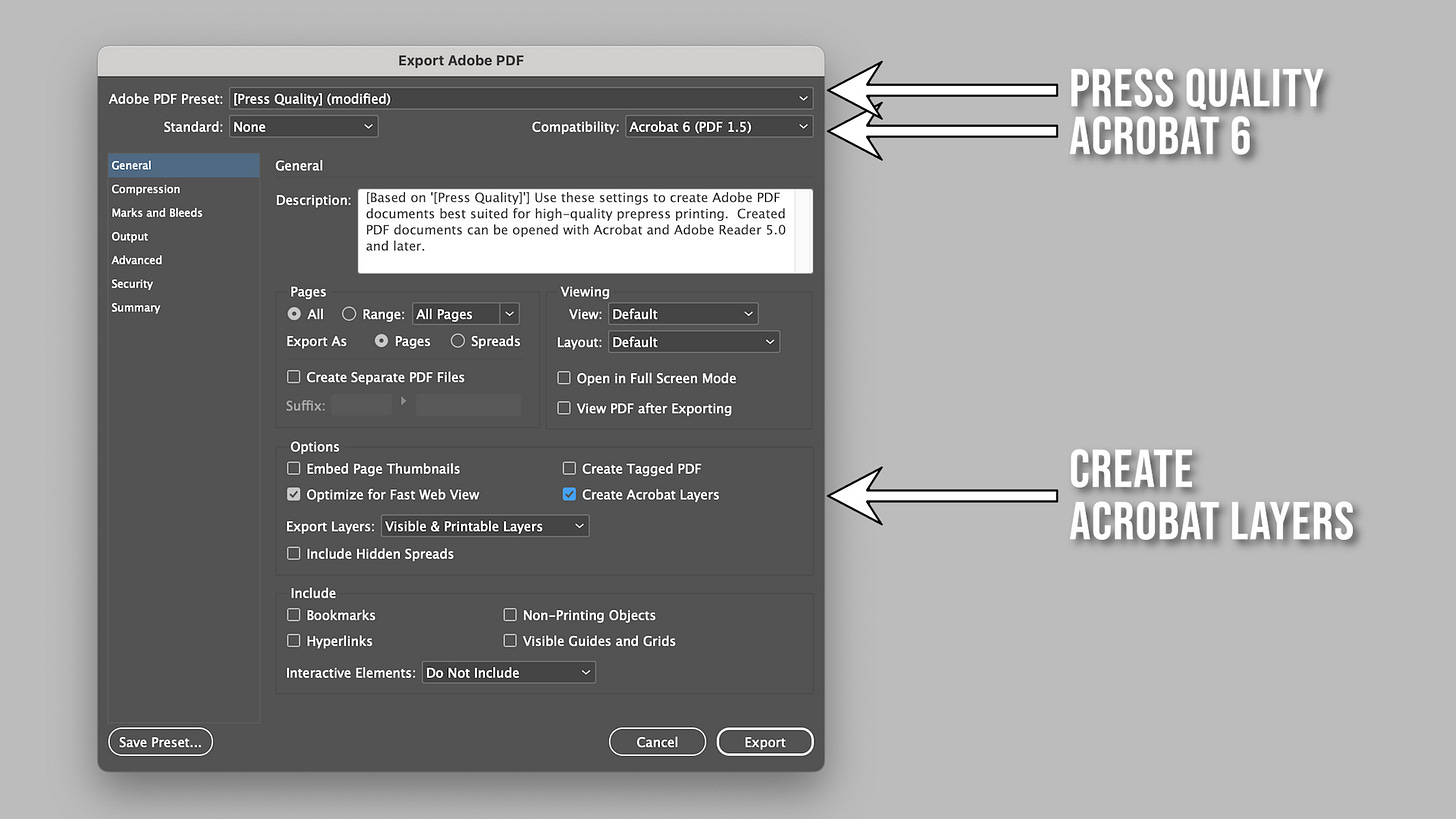
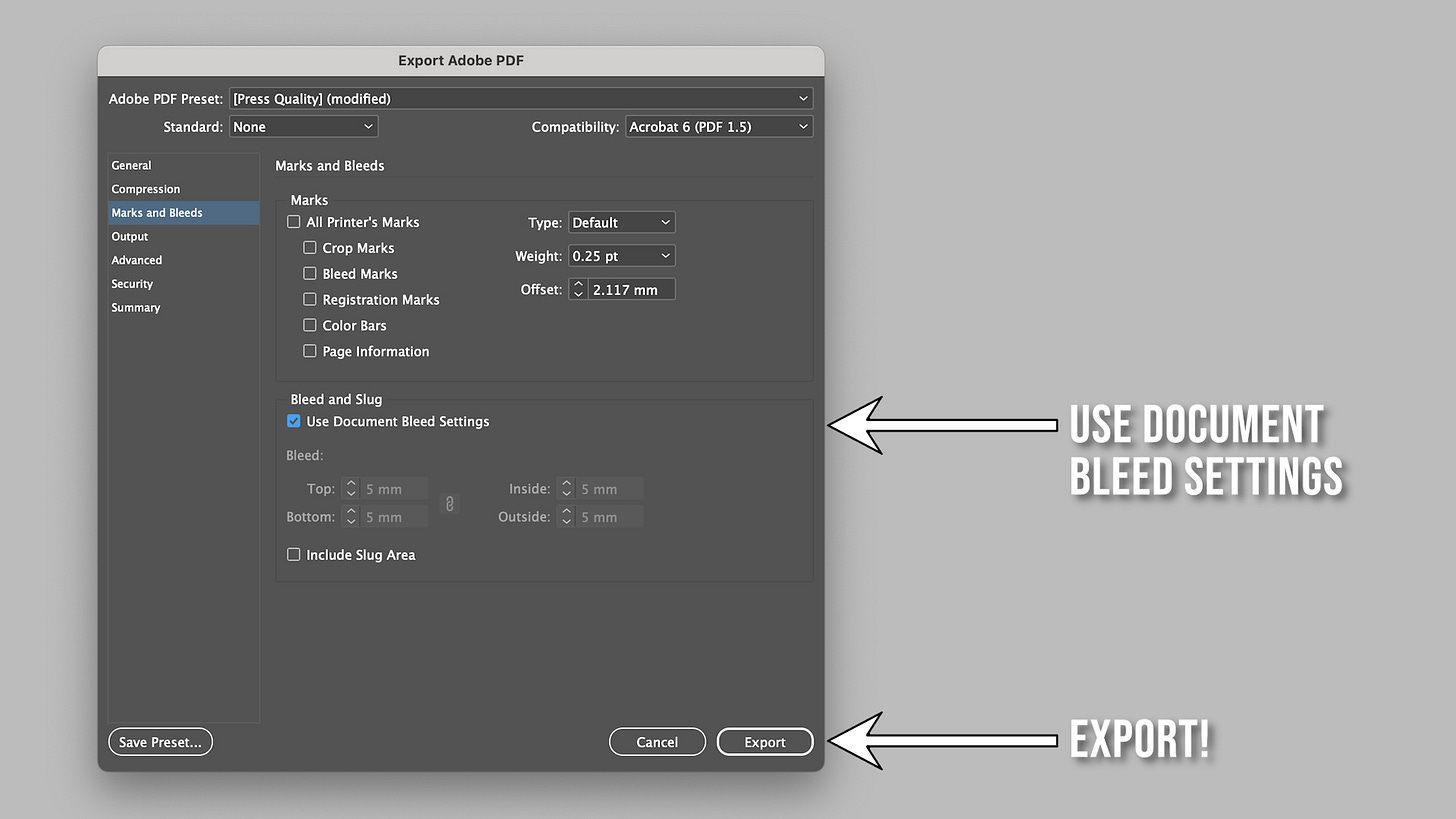
Let’s make the PDF that you’ll be sending to your print shop. As I mentioned in Part 2 of this guide I set up my zine in Indesign, and my shop had some specific requests for the PDF. Here’s what my export dialogue looked like:
Under the ‘General’ tab:
Adobe PDF Preset - [Press Quality]
Compatibility - Acrobat 6 (PDF 1.5)
Create Acrobat Layers - ✅
Under the ‘Marks and Bleeds’ Tab:
Use Document Bleed Settings - ✅
Export!
You can now send this PDF to your shop and before too long your freshly pressed zine should be in your hands.
But don’t stop here!
It’s worth spending a little extra time on just how you want to package the zine. A little can go a long way here in affecting the reader before they’ve even had a chance to peak between the covers.
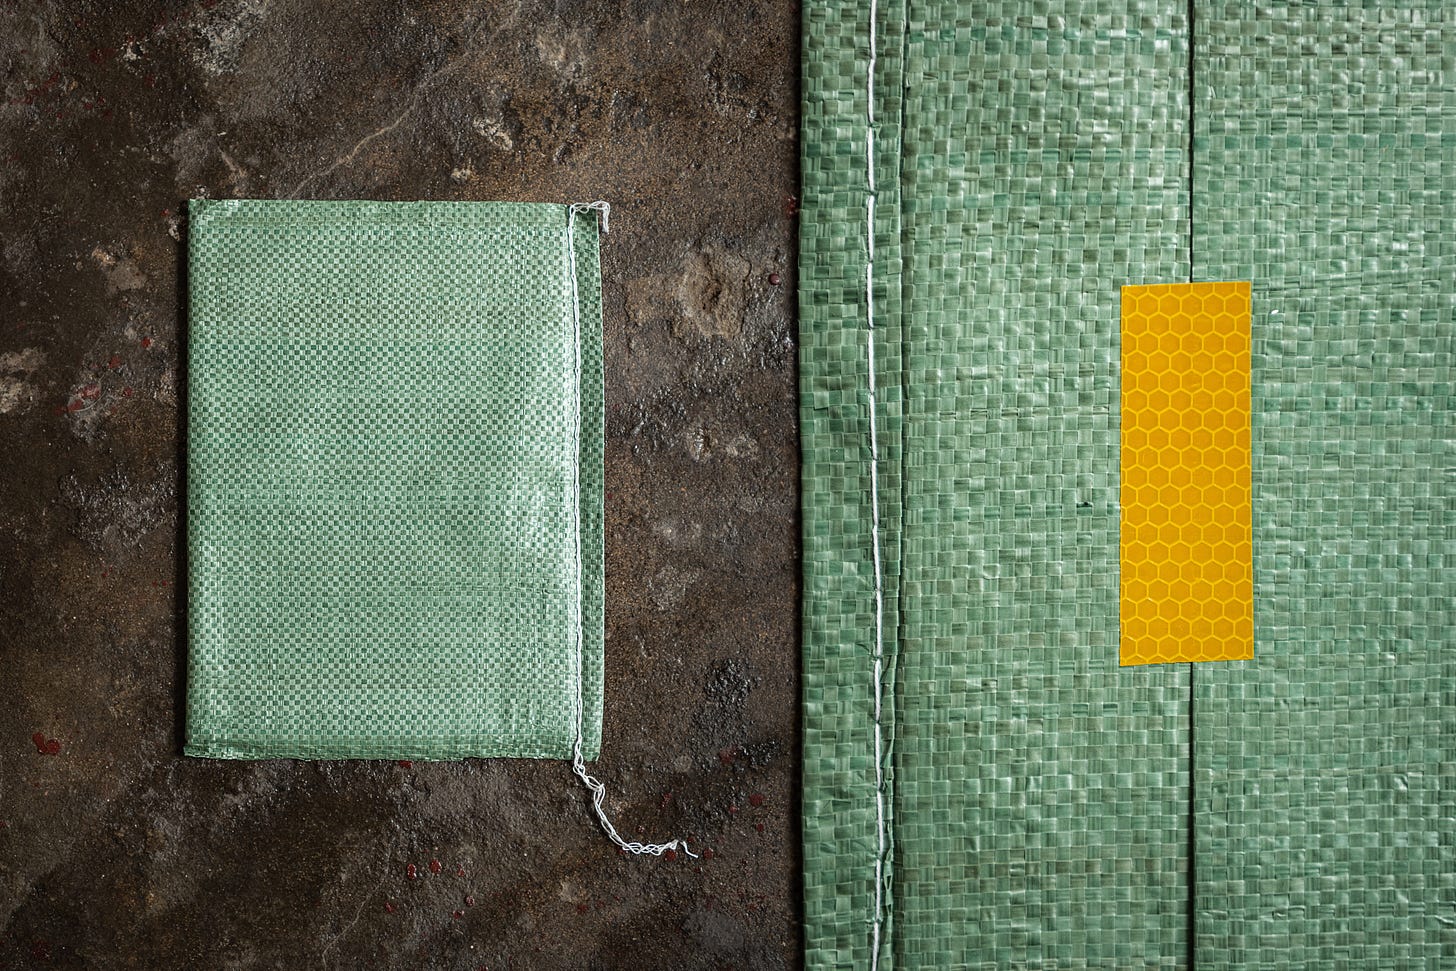
Some of the best responses I received were from how I packaged my zines1. I was driving past my local Korean hardware store one day when I had a moment of inspiration. I looped around and pulled up outside the shop, which looked very much like it could have been one of the Dirty Work spreads, and went rifling through their wares. I soon found what I’d been looking for.
These green woven bags are a common sight in Korea (if you’re looking for them) and they made a perfect slipcase for the zines. They’re textured and tough, and exactly the kind of packaging to suit the theme. I sealed them with reflective caution tape as a final touch.
Here’s to the final implicit step that is the reason we do all this:
I hope this guide and the video have been helpful to you. If you have any questions please comment below or message me at any time, I’ll always do my best to lend a hand.
Want to see Dirty Work in person? It’s available on my website or the Polite Company Press homepage.
Cheers,
Chris✌️
Which when I put it like that kind of seems like a burn.








Thanks for this inspirational useful story of your work :)
Well done! And tnx for inspiring work again 😀